WIP – P51d Mustang: Landing Gear Rig
Hi there
In the last post I mentioned that I would like to rig this plane. I never really rigged something before since I’m mostly doing still imagery. But PC hardware and software evolves and I’m getting more and more interested in animation. So I decided to give rigging a start as it’s crucial to be understood in most cases of animation.
The first thing I wanted to work was the landing gear of the Mustang which is retractable. While lying in my bed and not being able to fall asleep, a possible way of creating this rig with bones comes to my mind late at night. I may ceremonially announce that it worked the way I expected it to.
Well, here’s the start:
And here kind of a breakdown where the IK system is visible.
The procedure is still very clean, too clean to look realistic. I will have to tweak the curves once more a bit.
I was made aware of this great clip where one can see the procedure at a real P51d:
So, that’s it. Thanks for reading.
WIP Start: P51d Mustang
Hi y’all
It only was a matter of time until I modelled the most beautiful WWII Fighter ever created. imho..
Actually I’ve started this back in 2007 and a couple of days ago I decided to continue (if not revive) it. I had this emotionally driven thrust of motivation. You feel me, I know..
7 years is some time (and my idea then was to create a jet engine driven Mustang) thus I had to fix a lot – and I mean a lot – of mesh issues, be it unorganized polygon ditribution or smoothing issues. A lot. I had stopped the project in 2007 due to lack of motivation and I had only created the body very roughly (lucky 2014-me), so it was a good starting point since I didn’t have to start with aligning blueprints.
Well, I already spent a good bunch of hours since the revival and this is the progress until now:
Vintage pic from 2007 A.D.
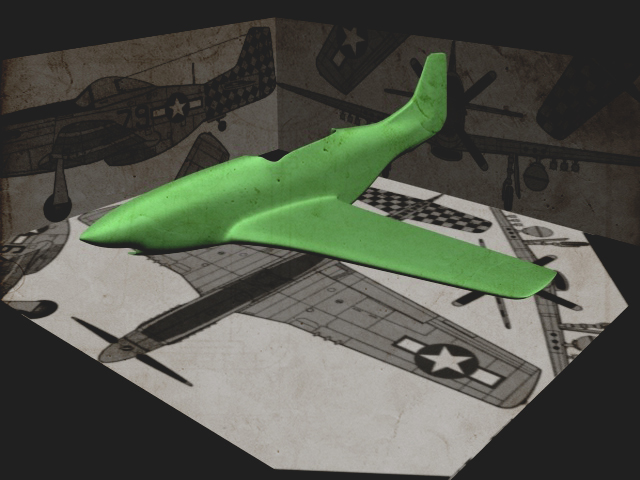
2014:
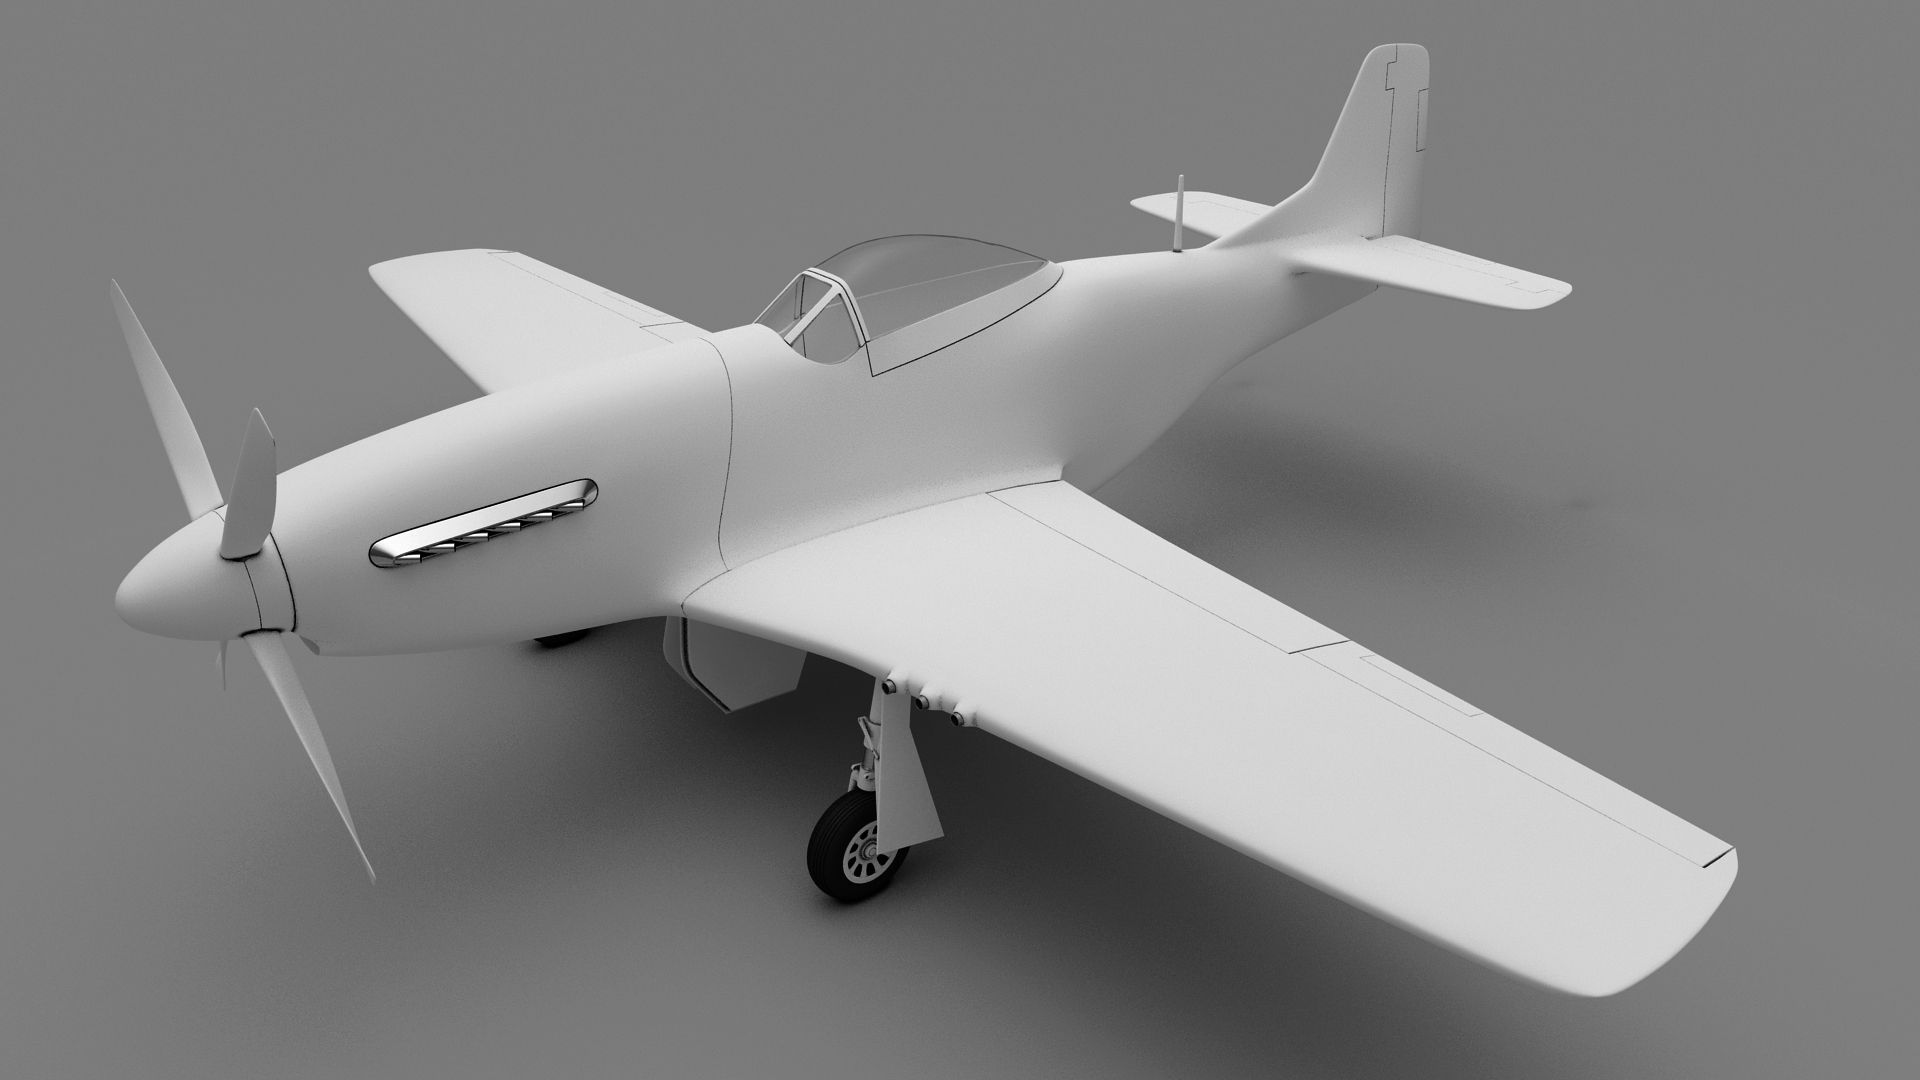
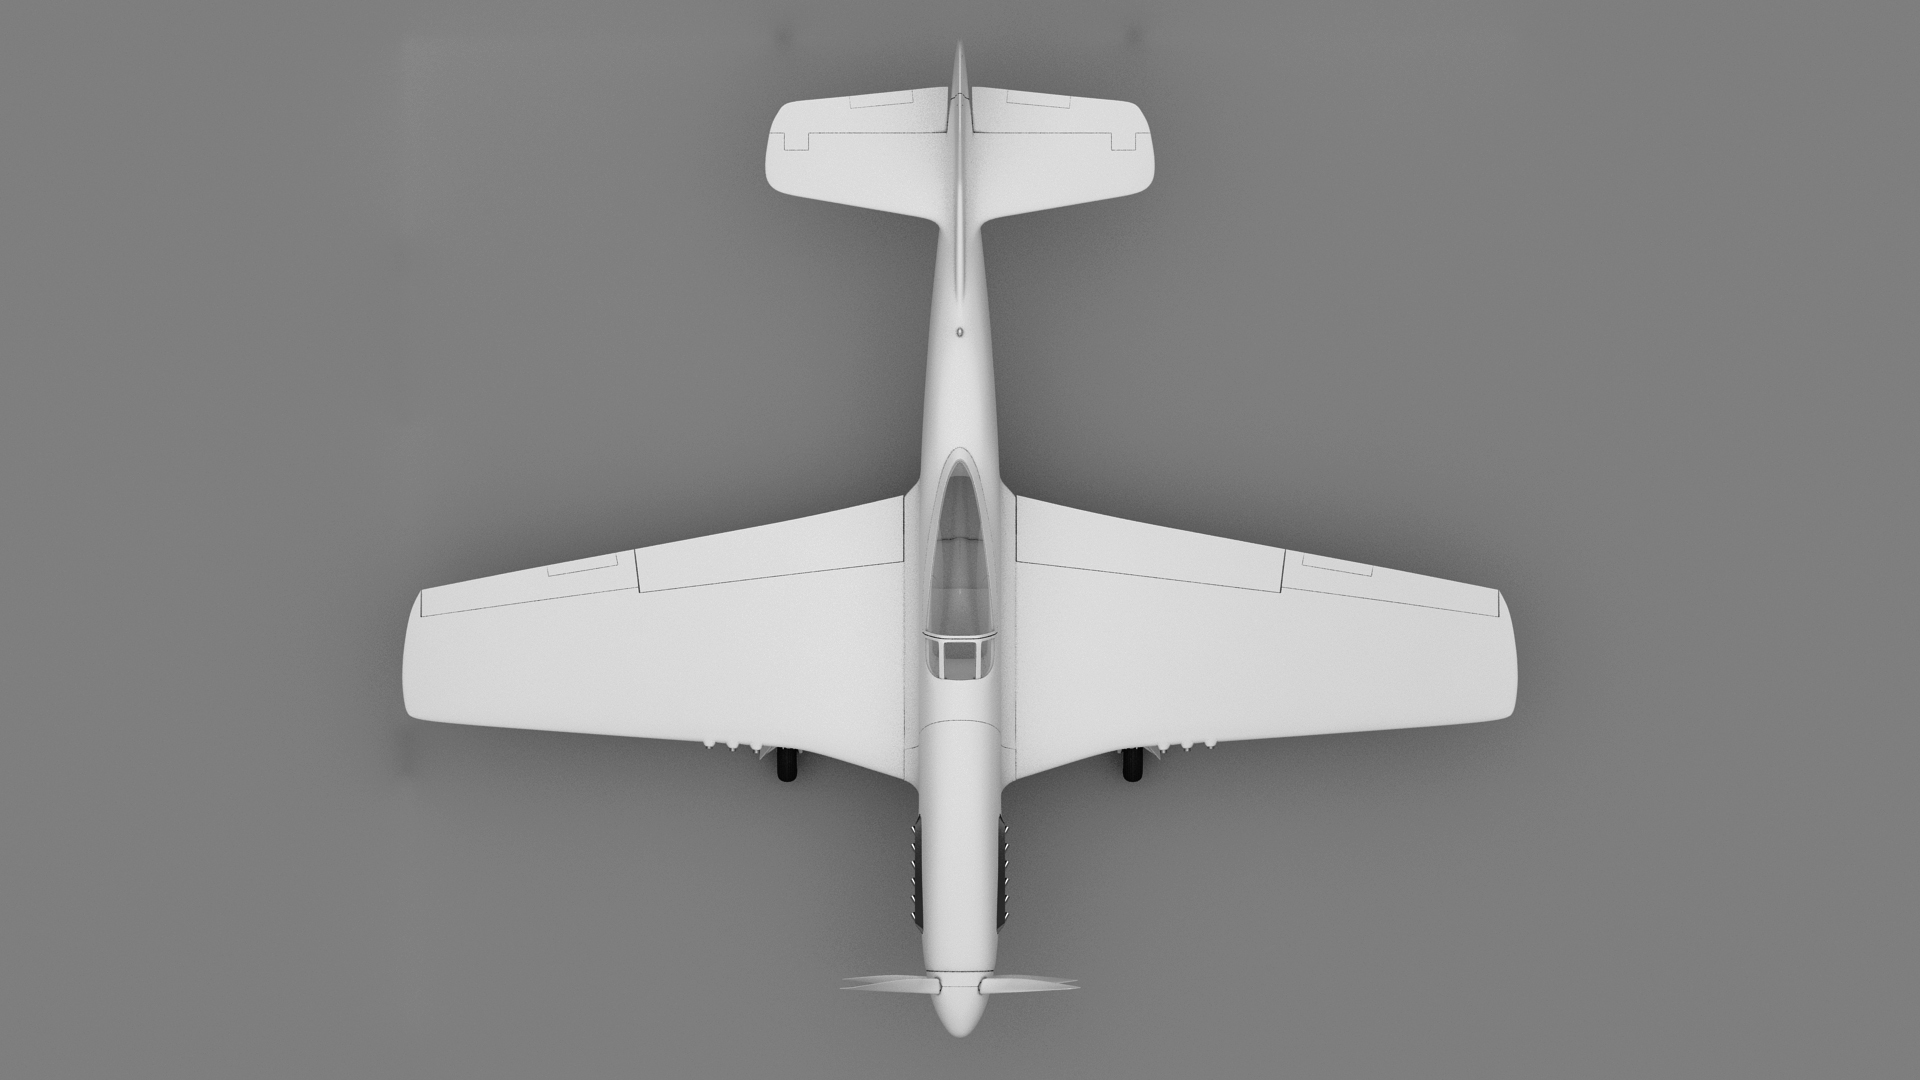
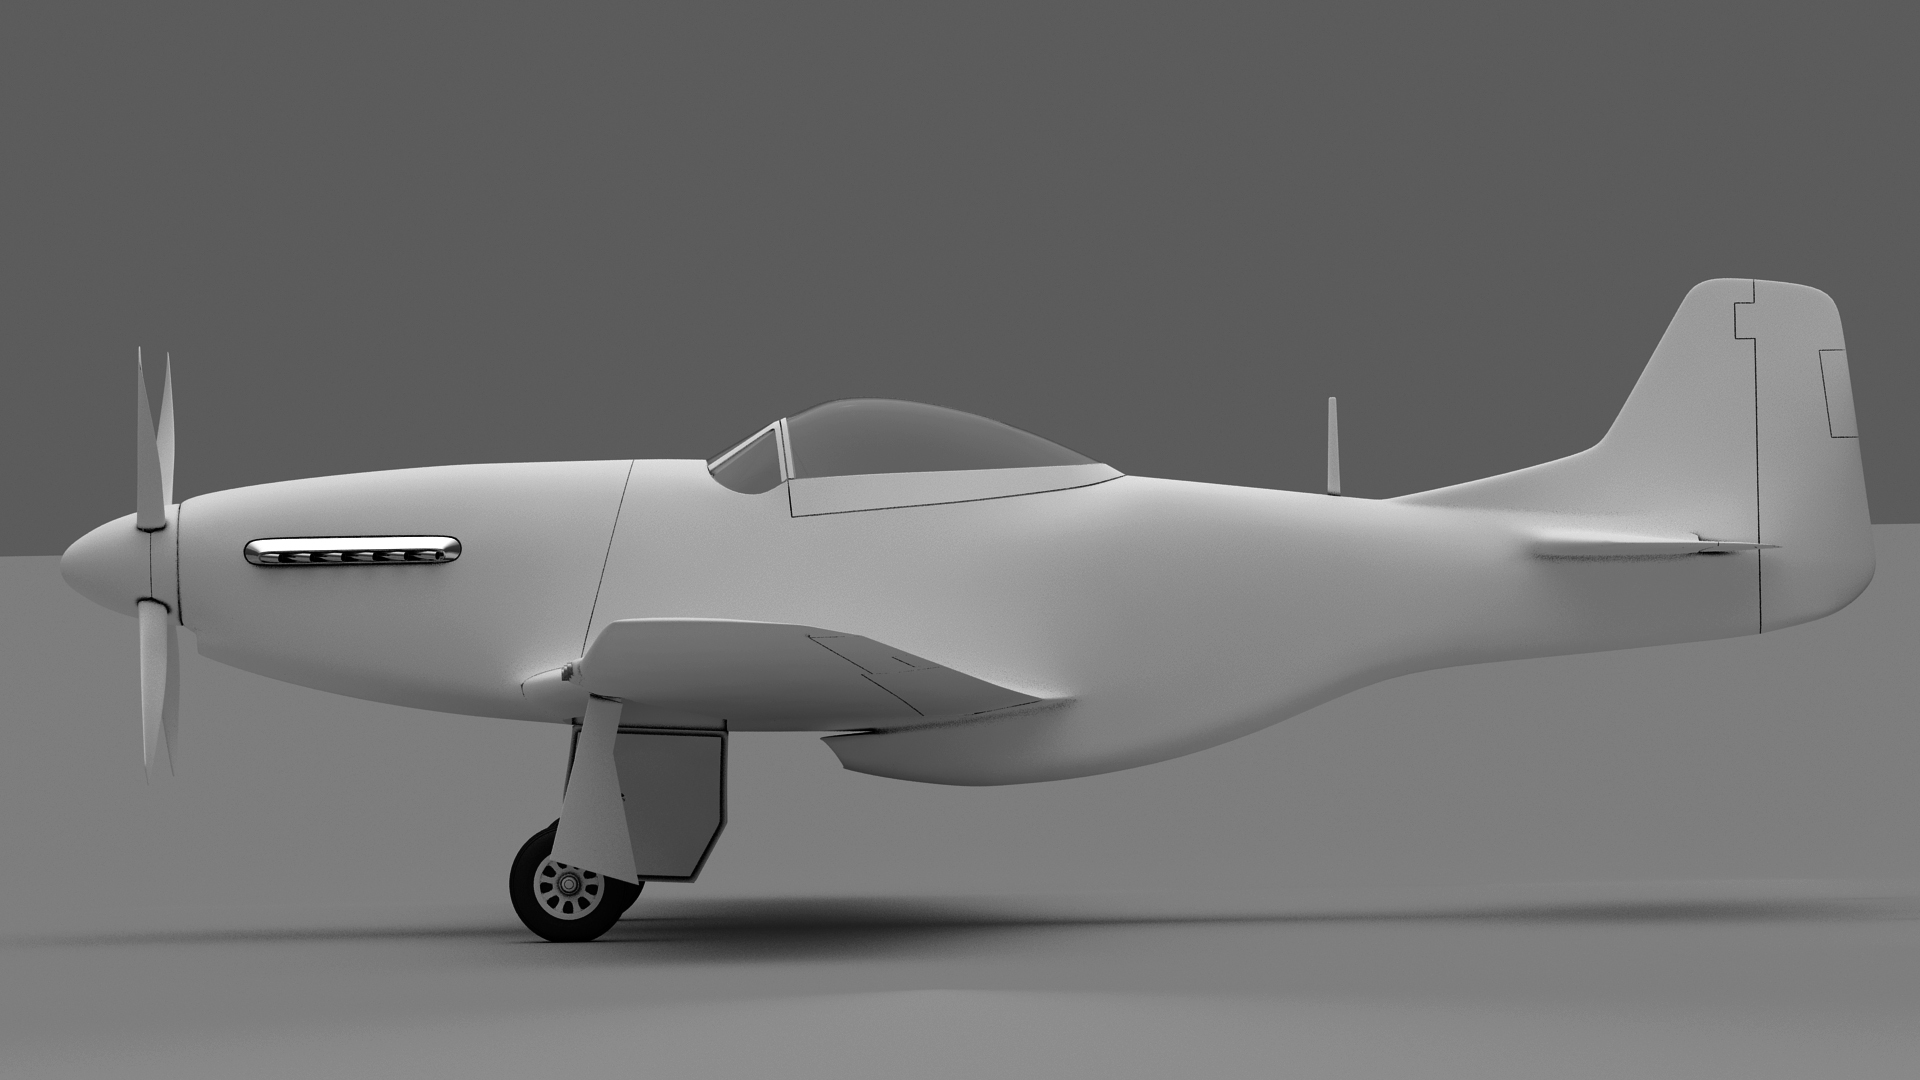
So this is the new one and I love it!
It’s far more worthy of this american beauty than the nearly on a floppy disk saved one above.
I think in a next post I will share my workflow for the seams of the sheeting. For a long time I’ve been asking myself how to make them right and now I’ve developped a workflow which suits me really good.
I’m actually planning to rig this beast. More about that in a further post.
So long
WIP: Spaceship based on Scott Robertson Design
Hi!
Another short WIP.

Camera Tracking study – Destroyed entrance
Hi!
There is this really cool new feature in AE CS6, called 3D Camera Tracker and I wanted to mix CG and real footage with its help. So without further ado I rebuilt a door entrance in my city, destroyed it as there were some kind of meteoroid impacting the doorway. Further I filmed some footage as if I would walk down the street and bump into this desaster. I then could create a camera path by aid of the 3D Camera Tracker in AE and export this with a script called AE3D export by Ryan Gilmore into 3ds Max. And then, all I had to do was tweaking a little until I had an acceptable matching. It still isn’t perfect and there are many other imperfections but the time didn’t allow me to make further improvements.
3ds Max
VRay
RayFire: Shattering, bigger debris
Phoenix FD: Smoke
After Effects
It was a really fun project and I learned a lot.
bb
Formula 1 Sequel
Long time no post..
I have been busy in the last couple of months, as it can be in life.
But I’ve begun smaller projects in this time and I can present one of them today:
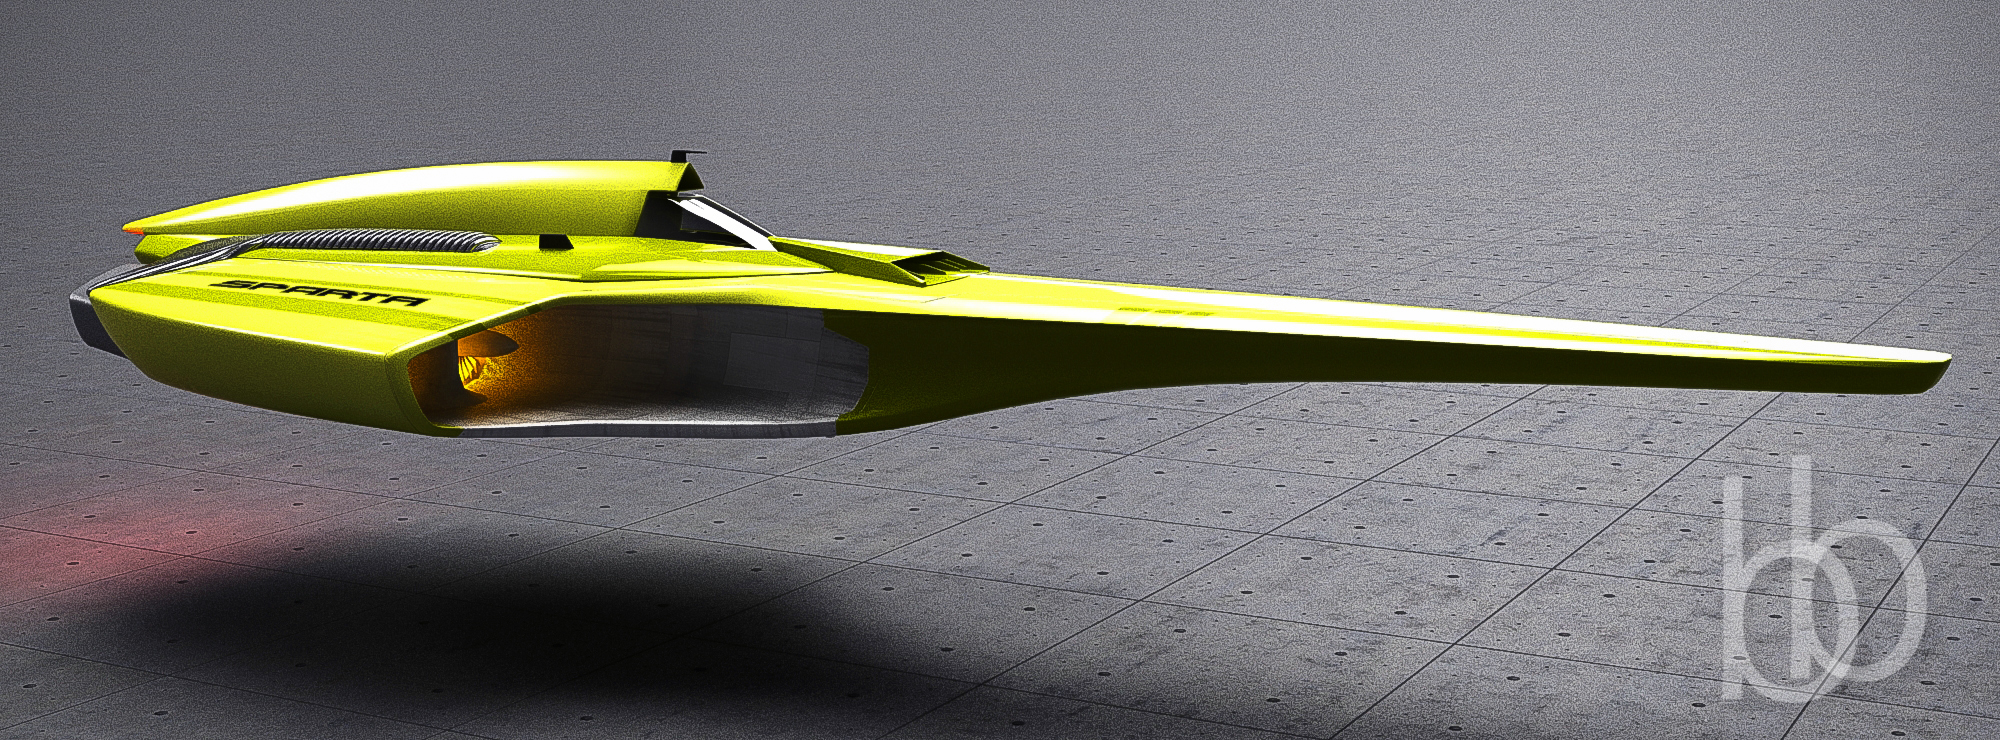
BAC S/A Sparta
This is the BAC S/A Sparta.
BAC is a famous aircraft manufacturer (At least im my world). S/A stands for Surface Attracted, so no high trips with this vessel.
I was inspired by some other great artists on DeviantArt and I wanted to know what ideas that I would have for such kind of after-F1-vehicle.
The result suits me quiet good even if there are a few points that I wanted to have solved better, mostly concerning the texture work.
So long..
bb
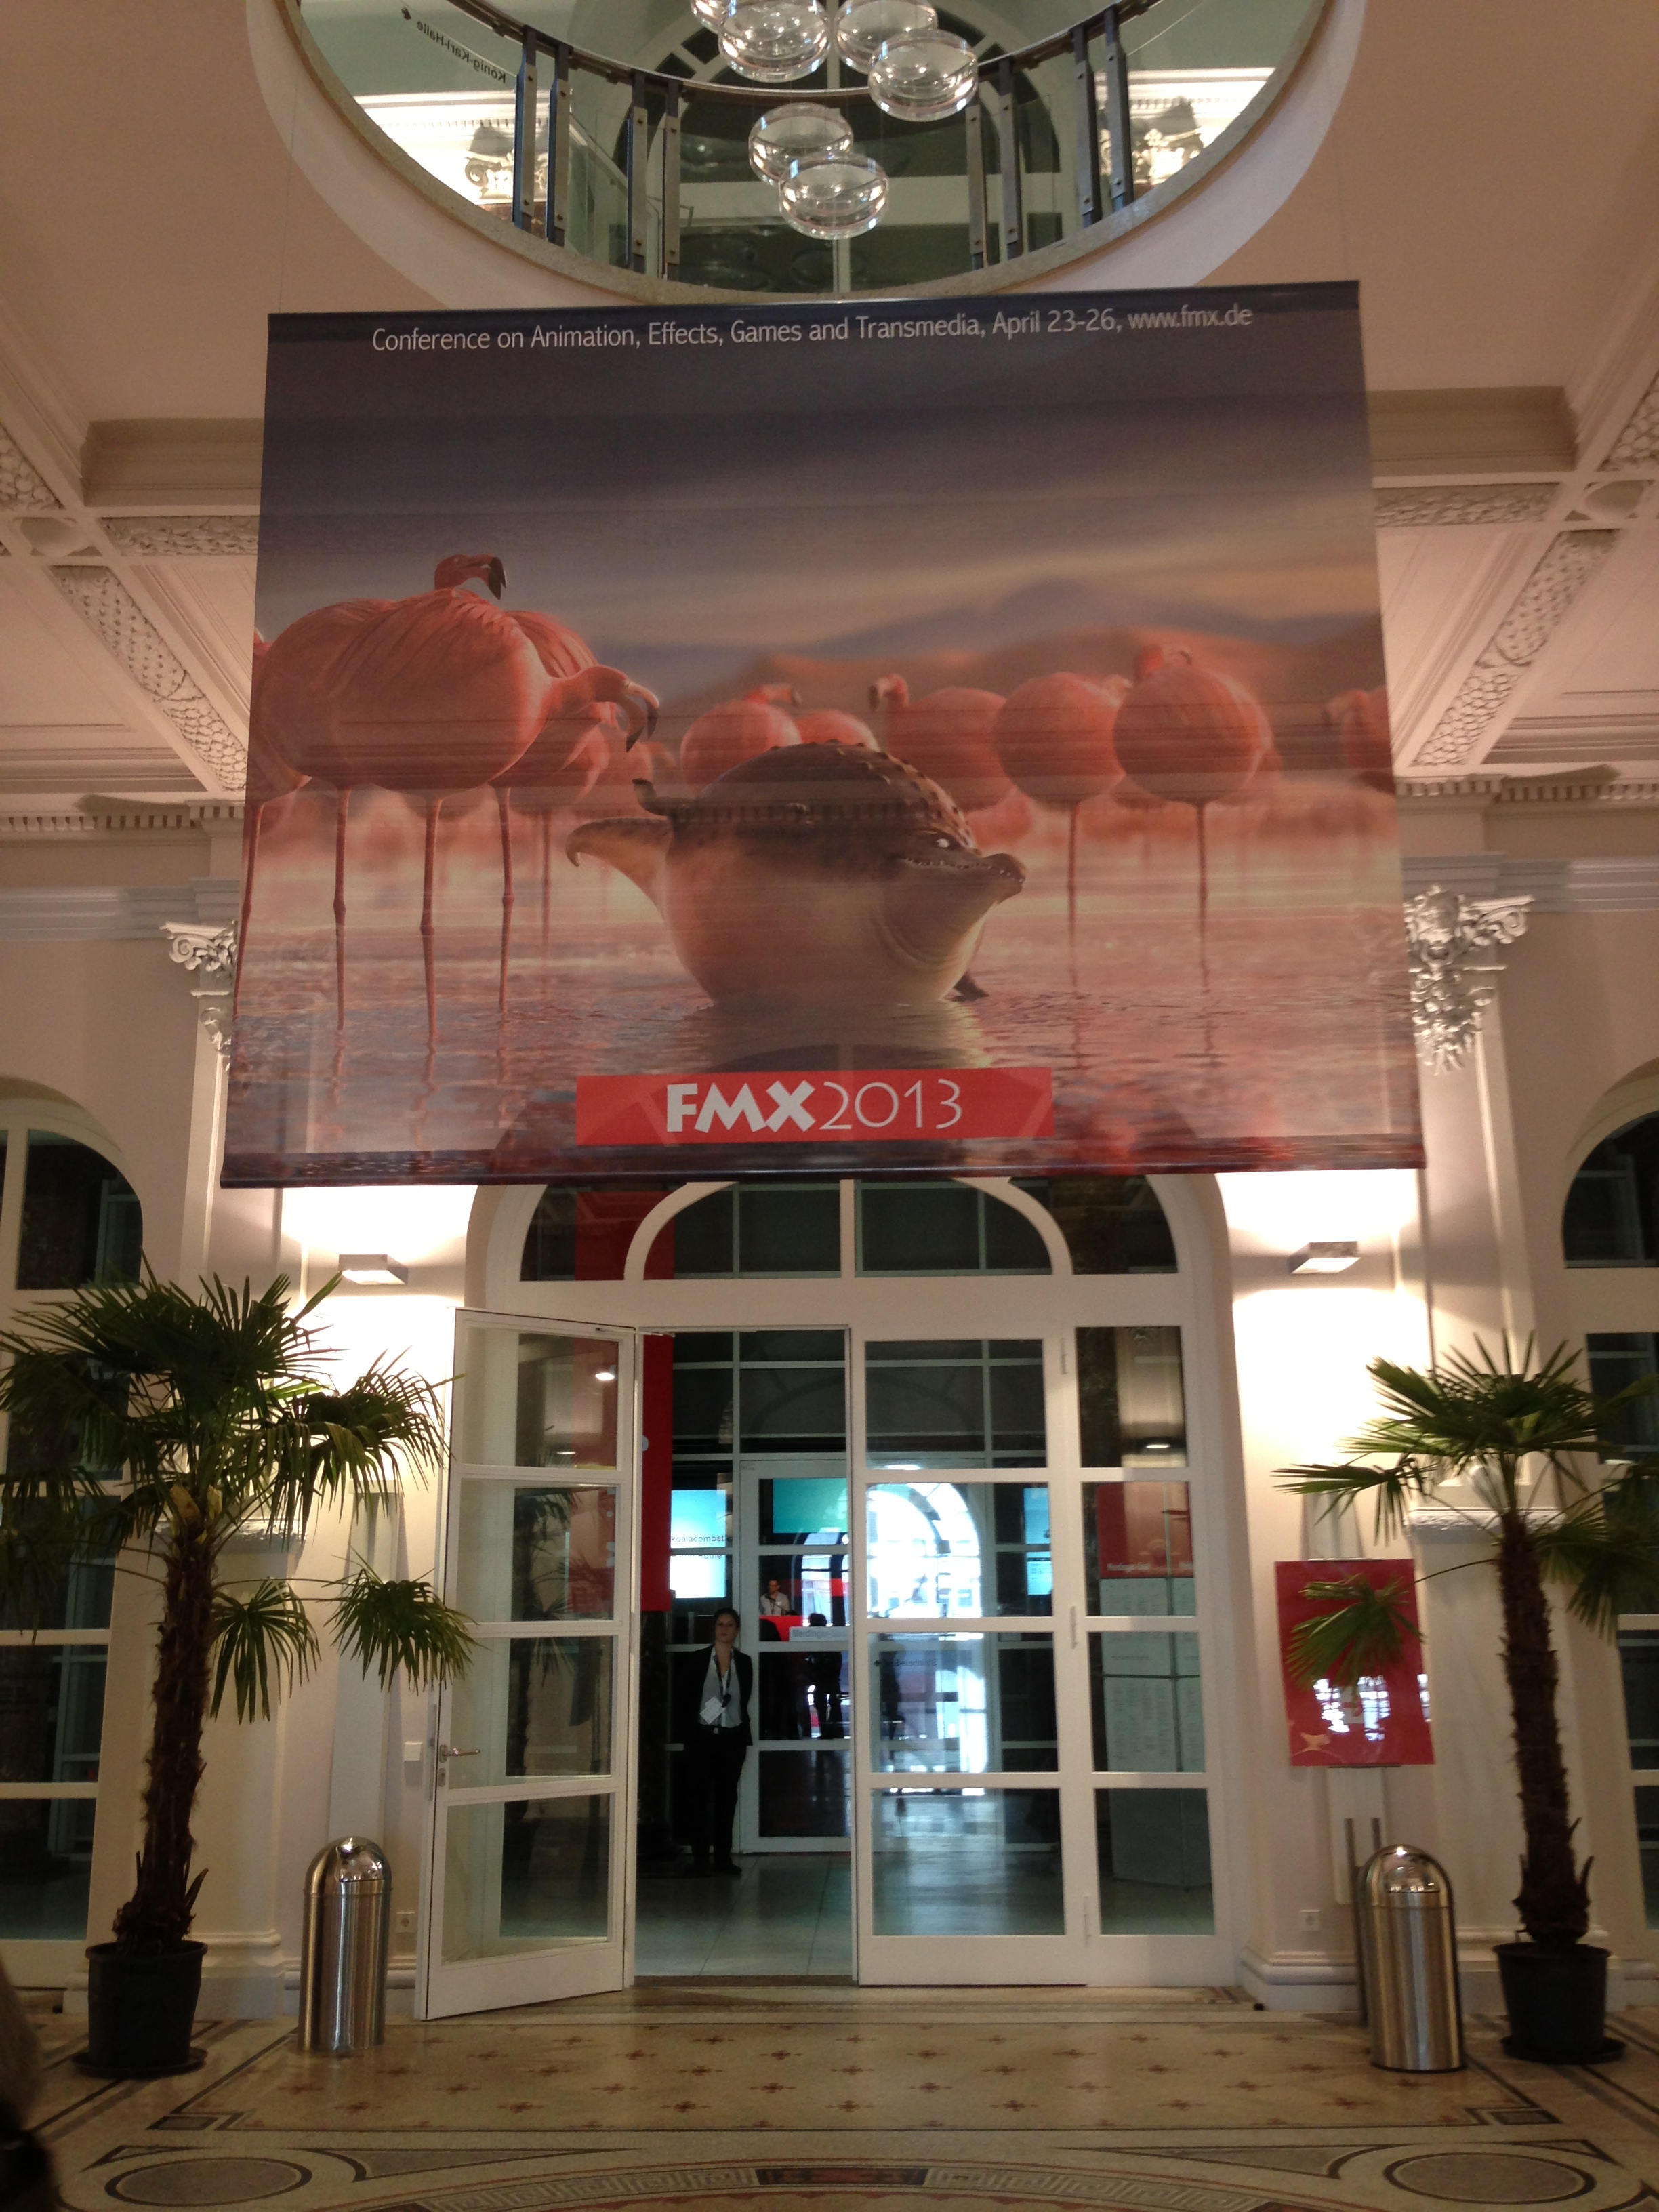
@FMX13
Last thursday I had the great opportunity to visit the 3D conference FMX13 in Stuttgart, DE.
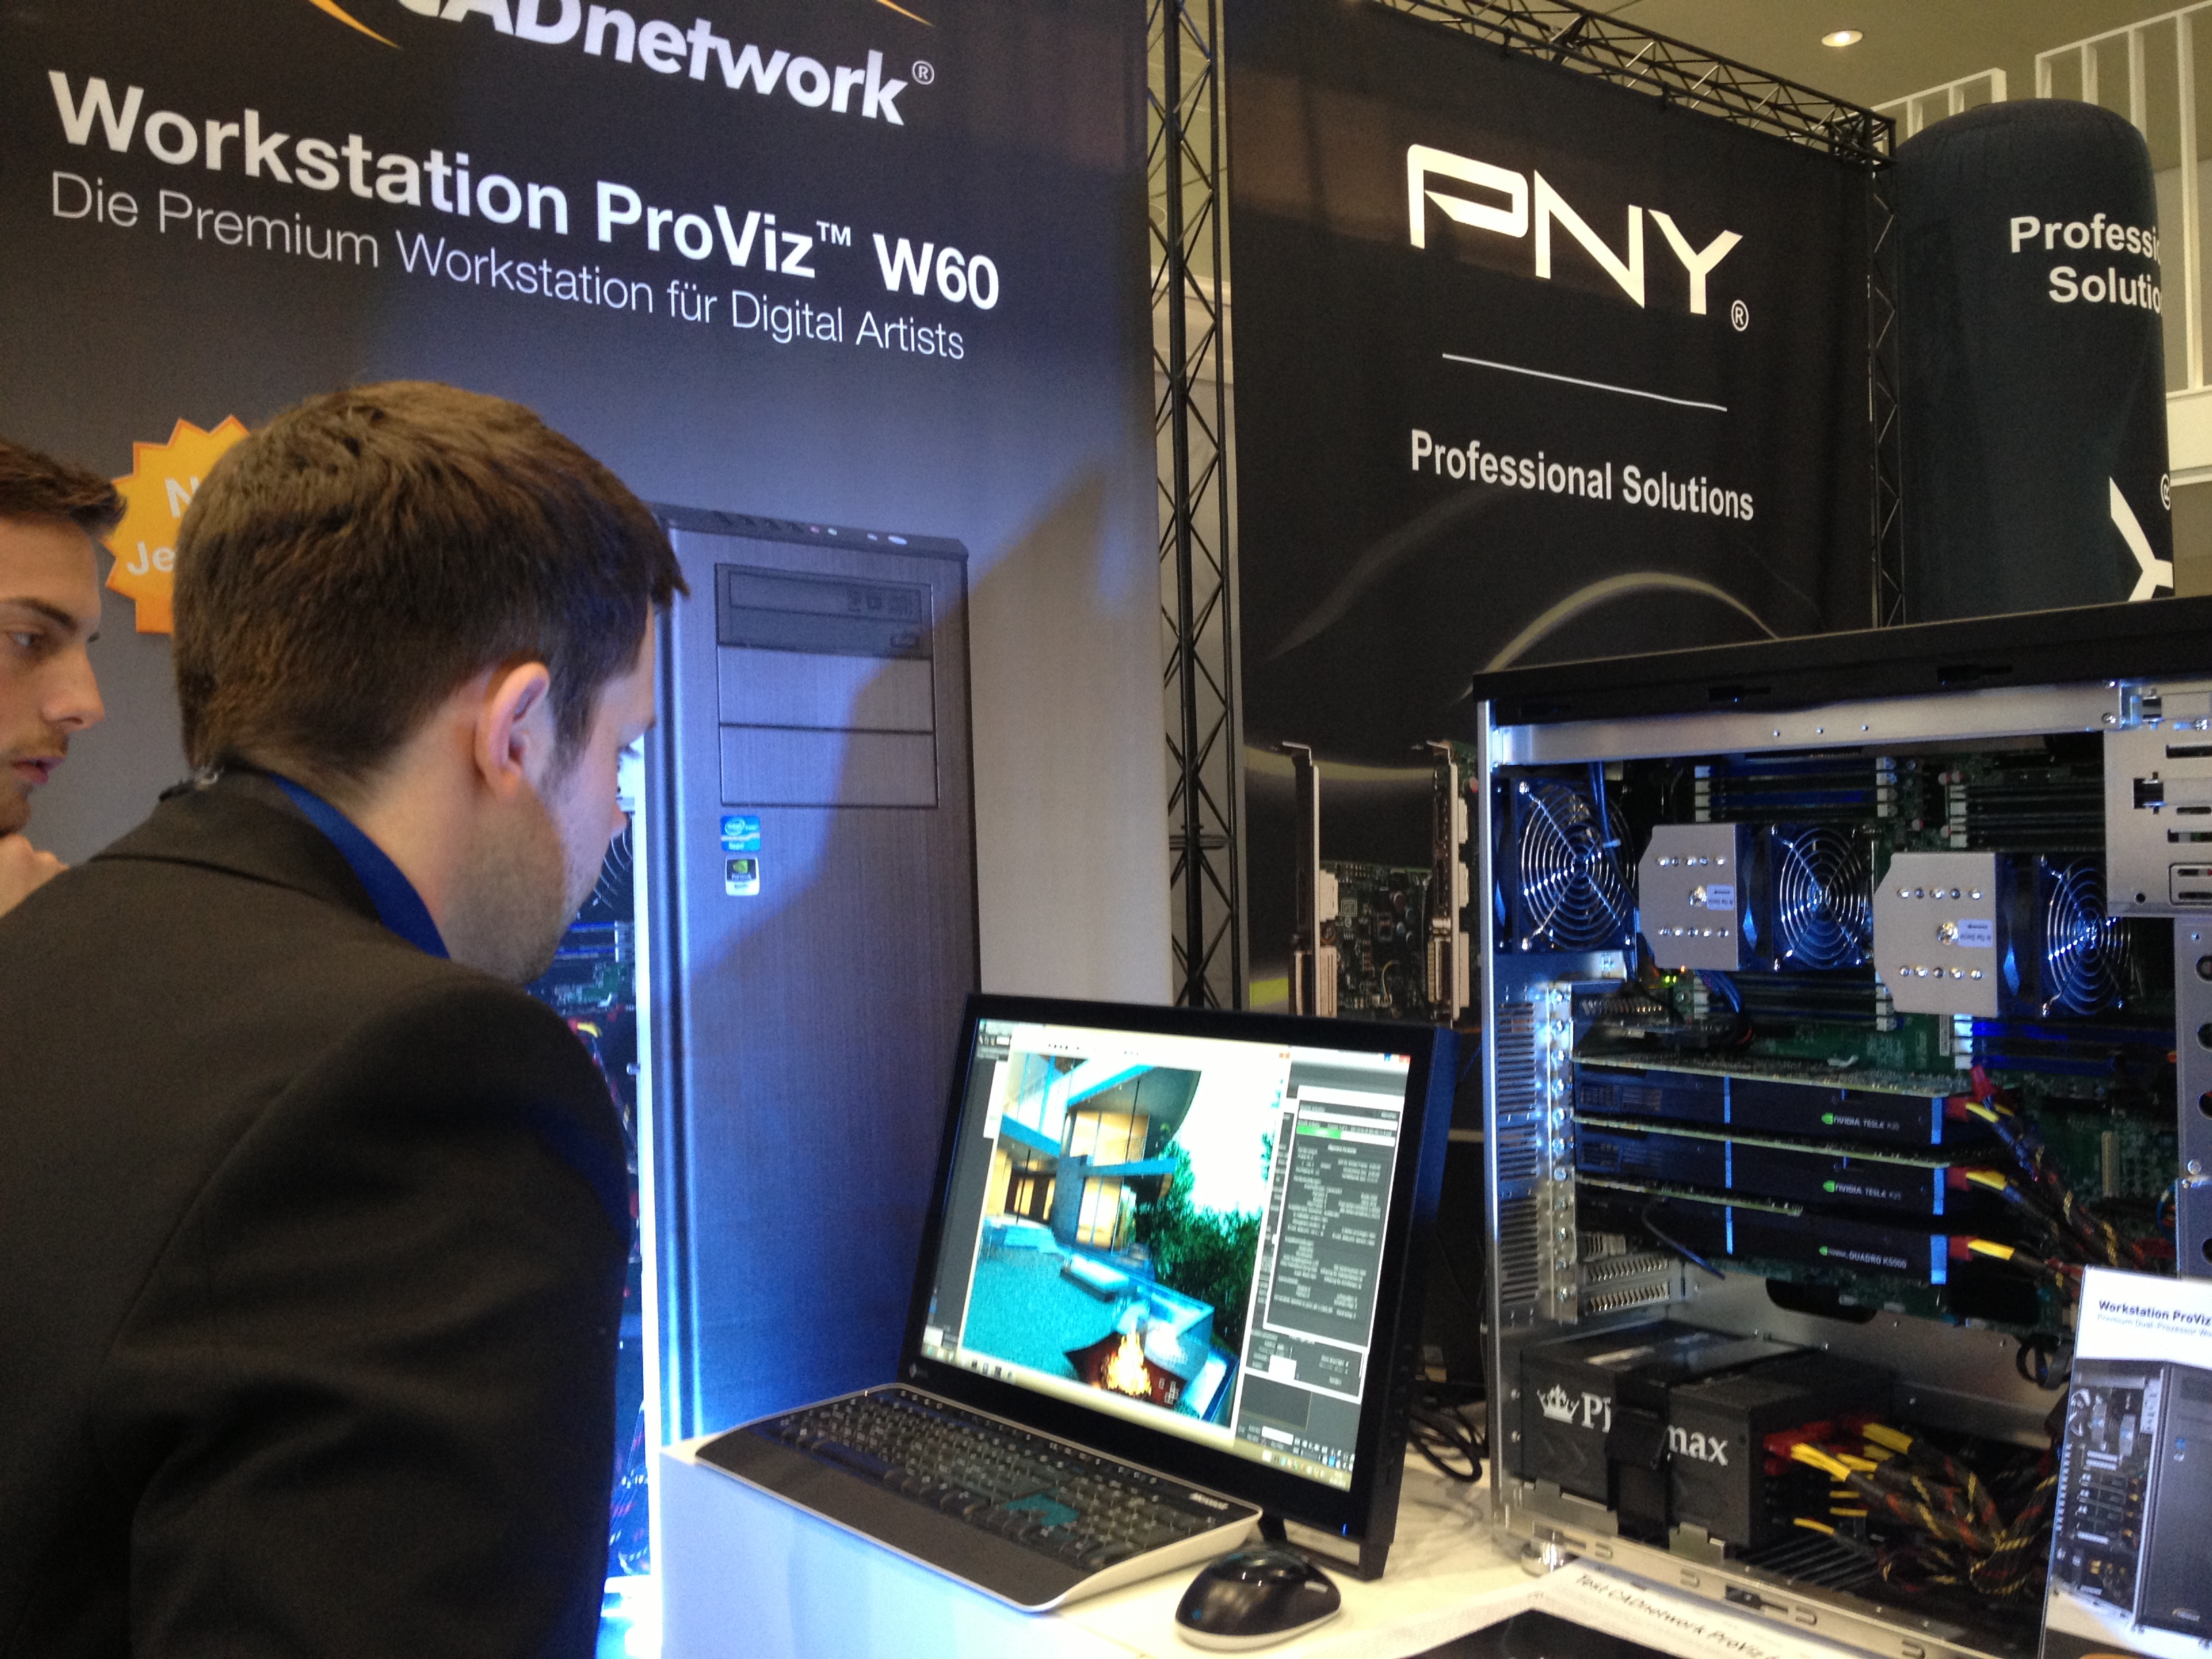
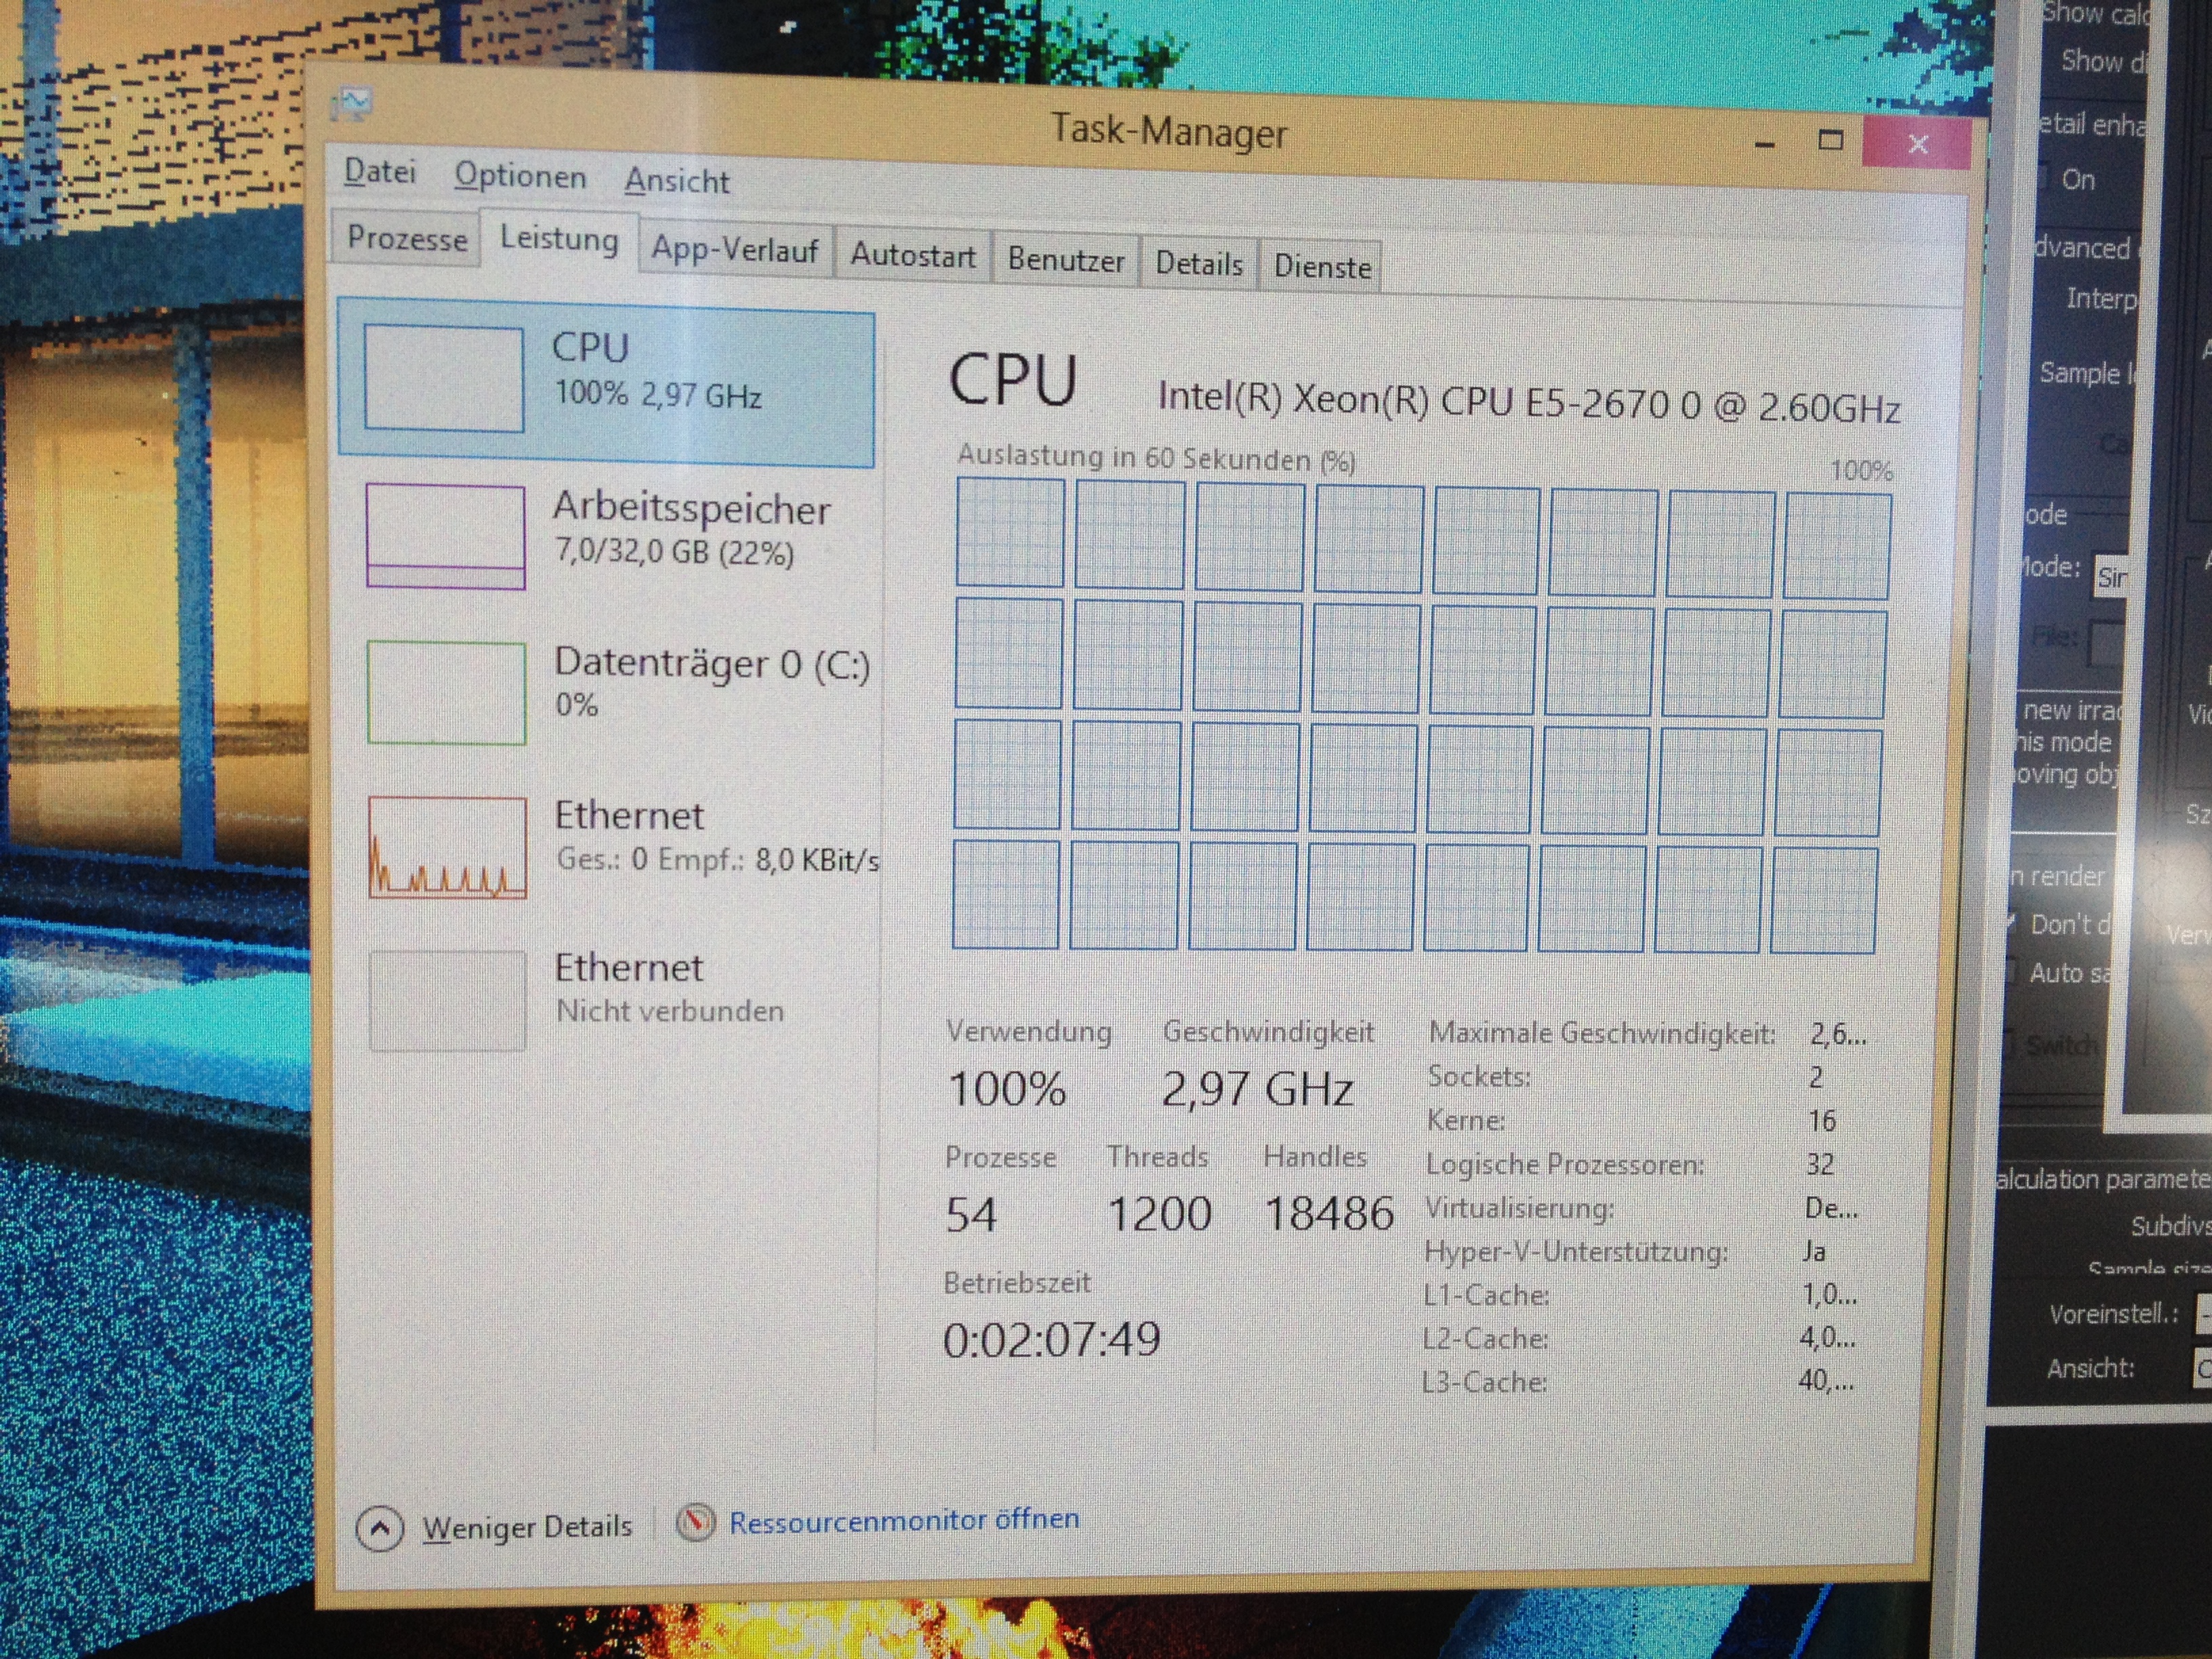
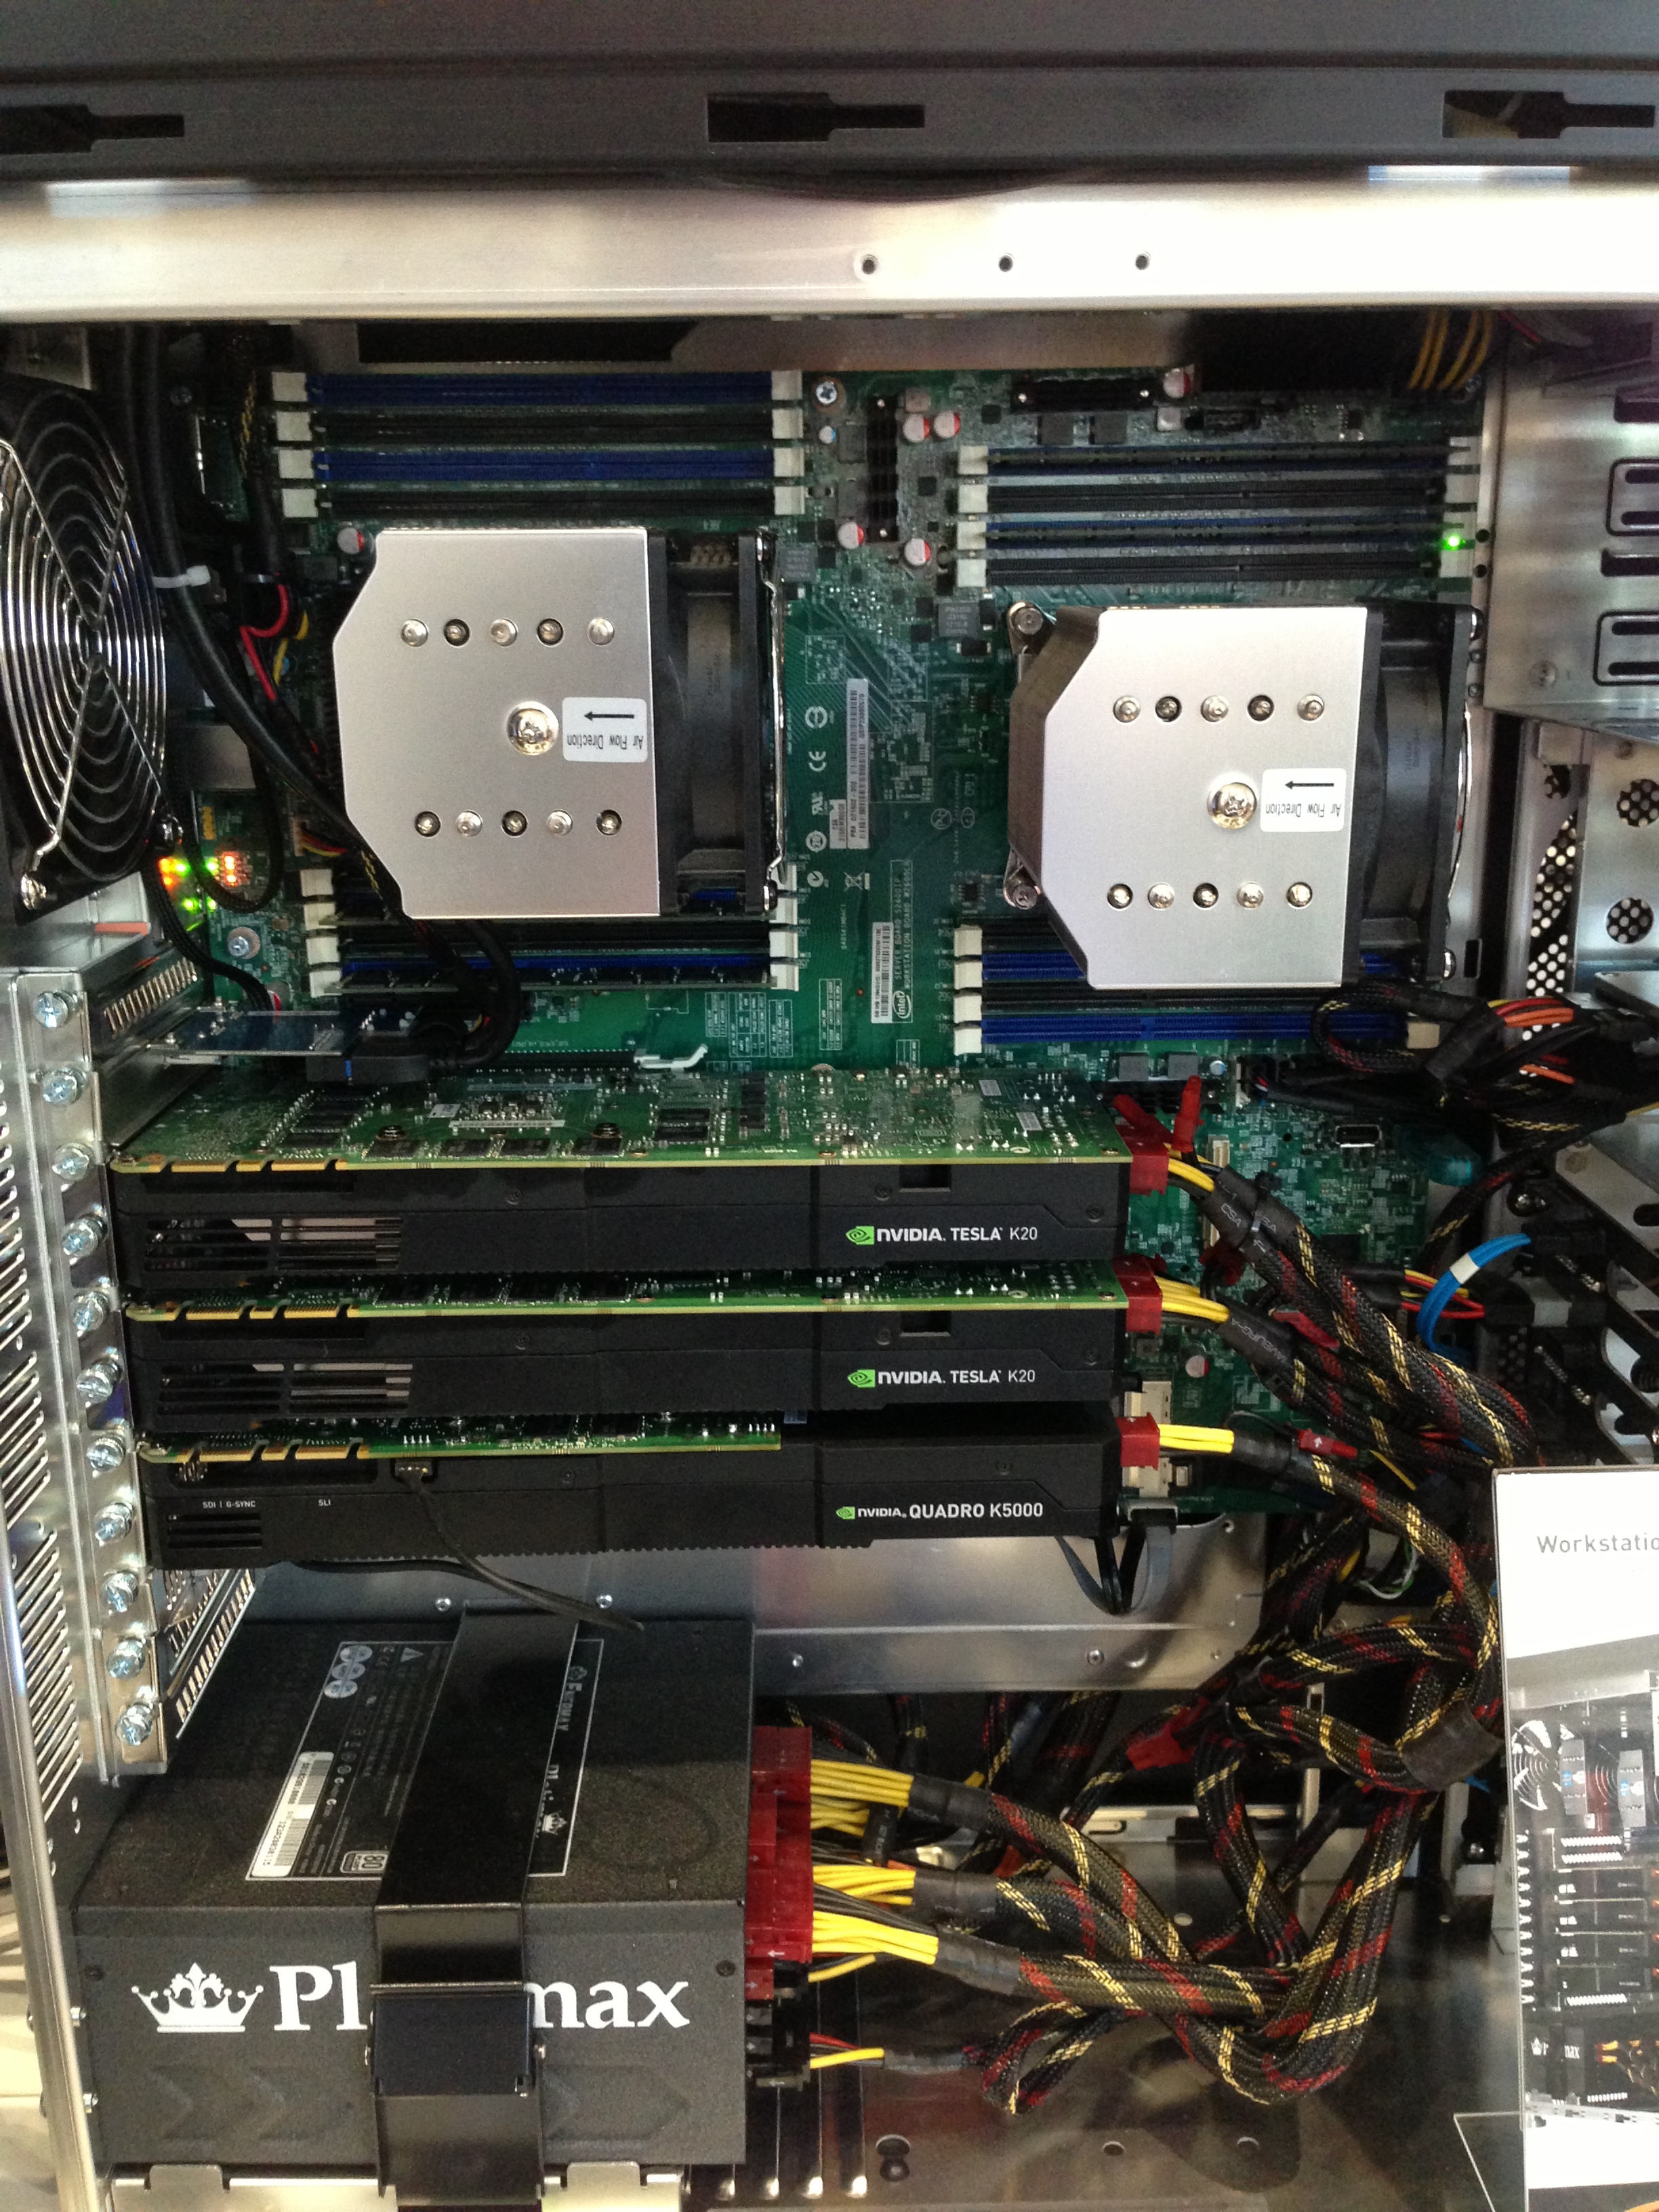
Renowned animation and VFX studios like The Mill or ILP were present and held their presentations about ongoing film projects as well as various hard- and software reseller and producer such as CADnetwork, 3Dpowerstore or Autodesk, MAXON and Adobe. I was able to render my own projects on hyper-potent workstations with 3ds Max and VRay and I got a good insight into realtime rendering as well with VRay RT, boosted by several nVidia Teslas K20 or GTX Titans. I could get good counsel from experts from CADnetwork and Chaos Group (VRay) too.
On the other hand there were several representatives of the 3D printer community and people from Laubwerk, a german developer of a very affordable solution in vegetation generation (free samples here).
In the afternoon I spent an hour in a hall, listening to a 3D artist from ILP who was speaking about the coming up film Kon Tiki and their breathtaking VFX work therein, fully rendered with VRay.
On the whole it was a very interesting day resulting in a full mind and tired legs and I hope that I am able to participate
in 2014 as well!

bb
WIP: Arch-Viz Detached House
Due to military service and other projects long time no update with my detached house.
I finished it yesterday at my new employer Optasia and I like to present you the result:

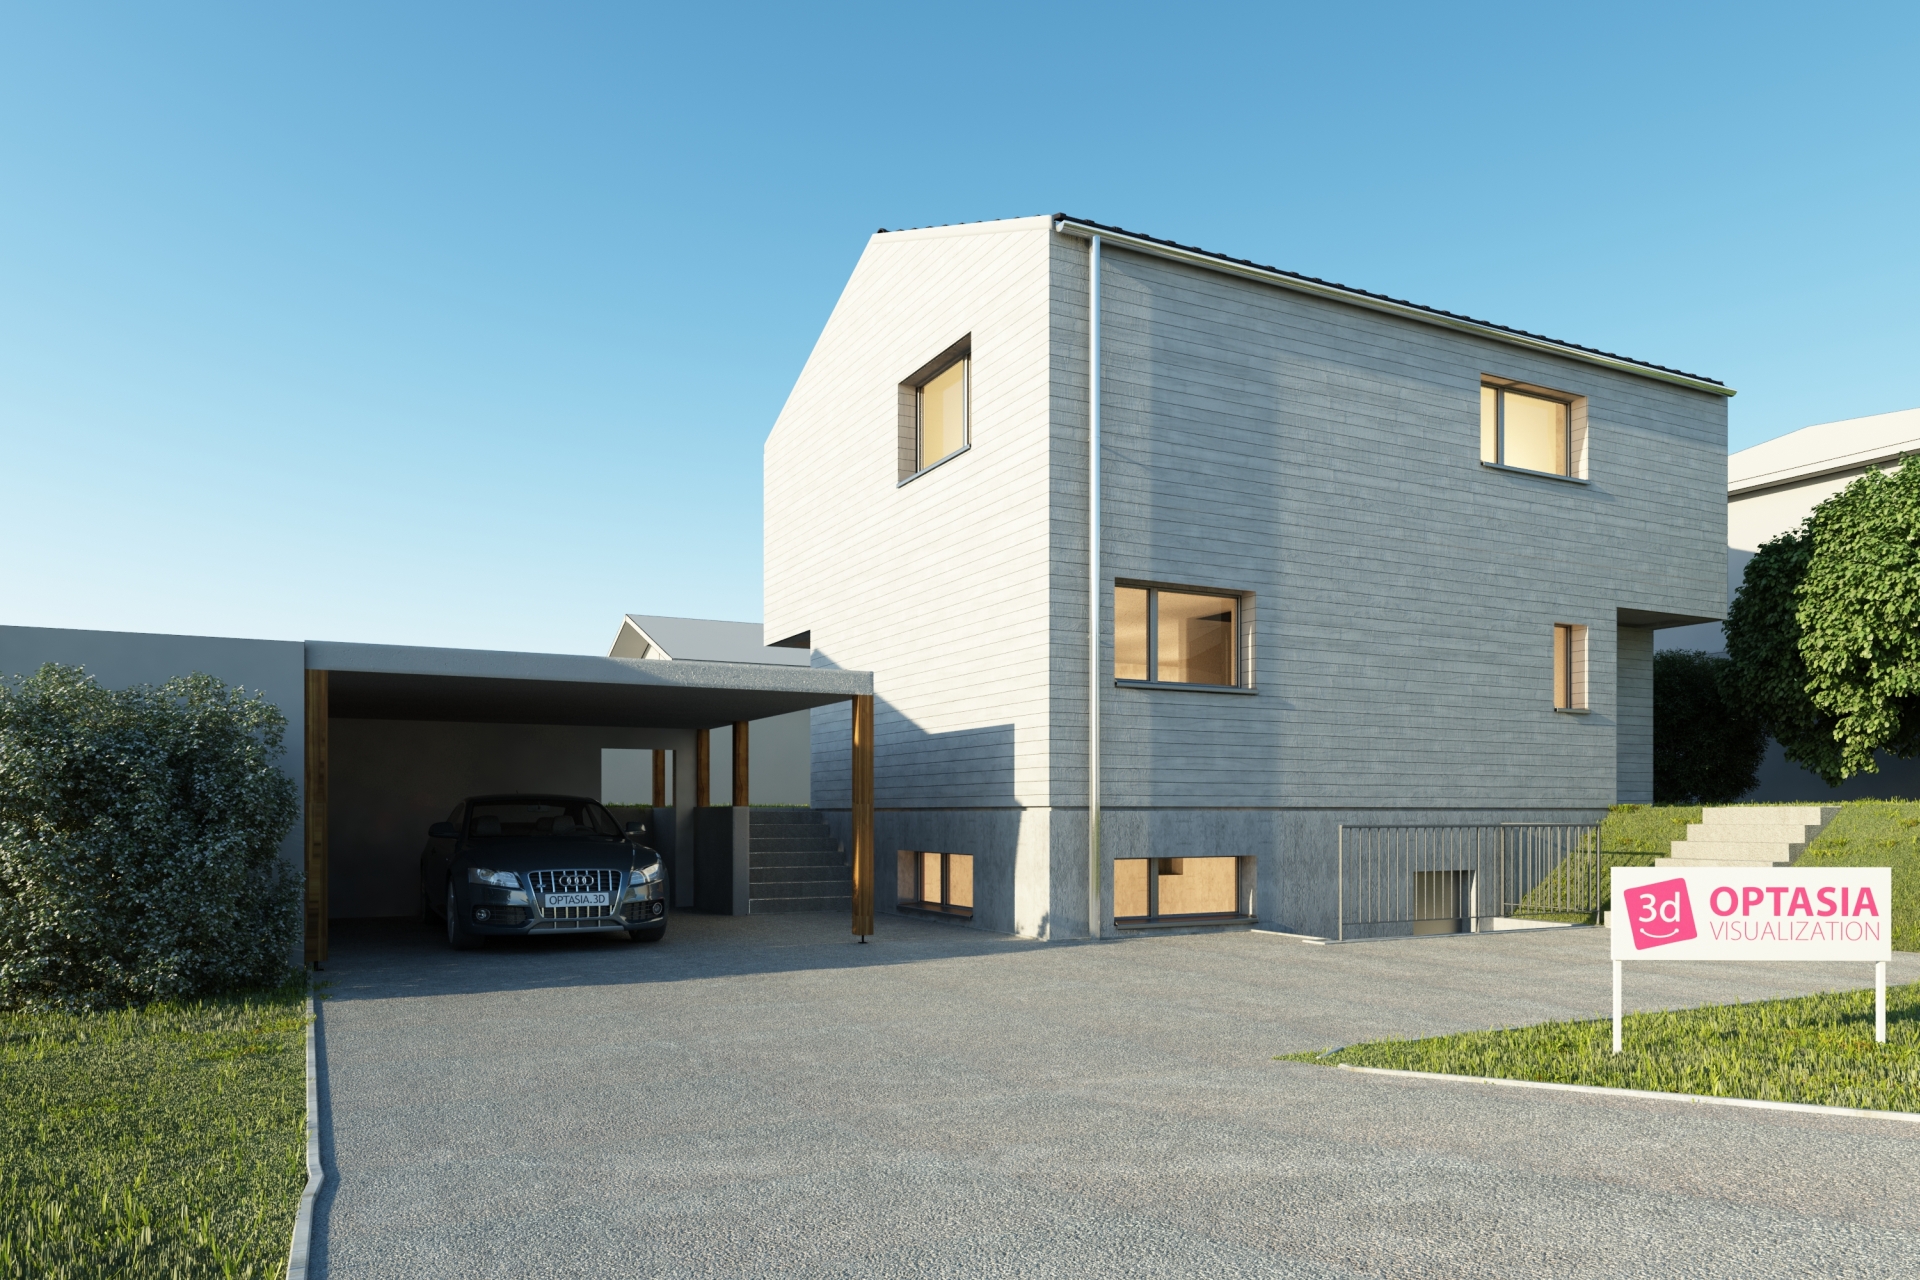
bb
WIP: Arch-Viz Detached House
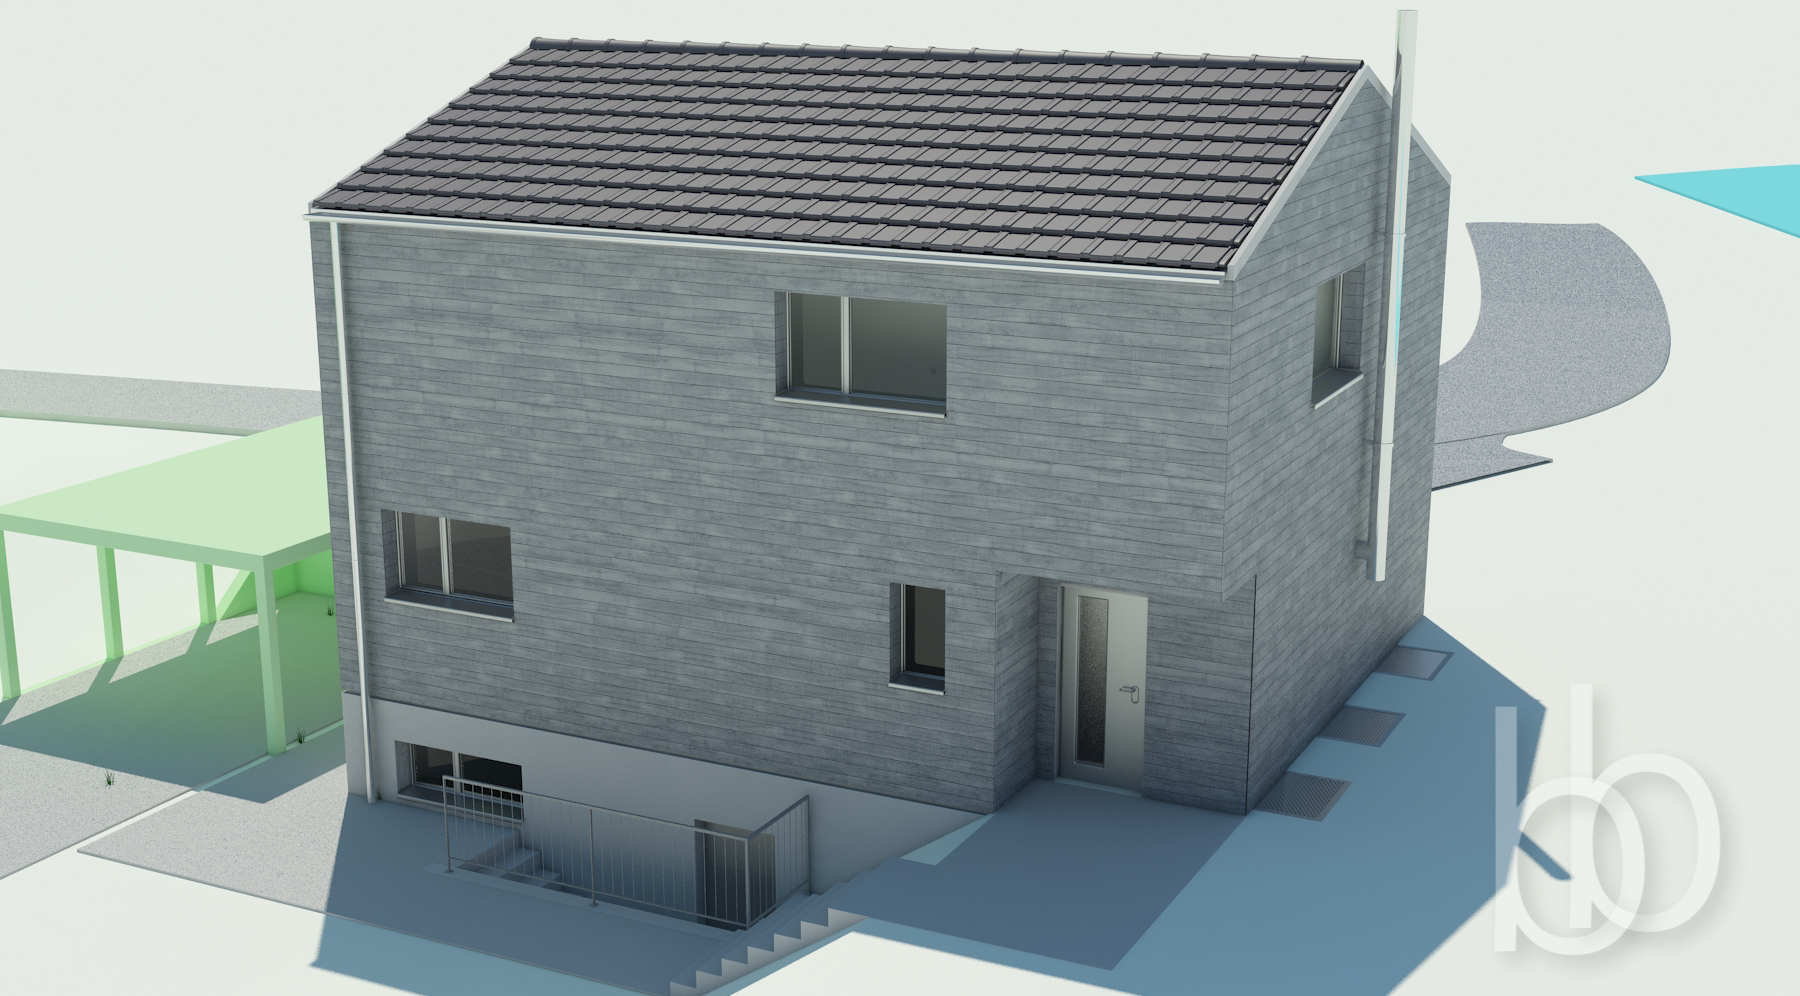
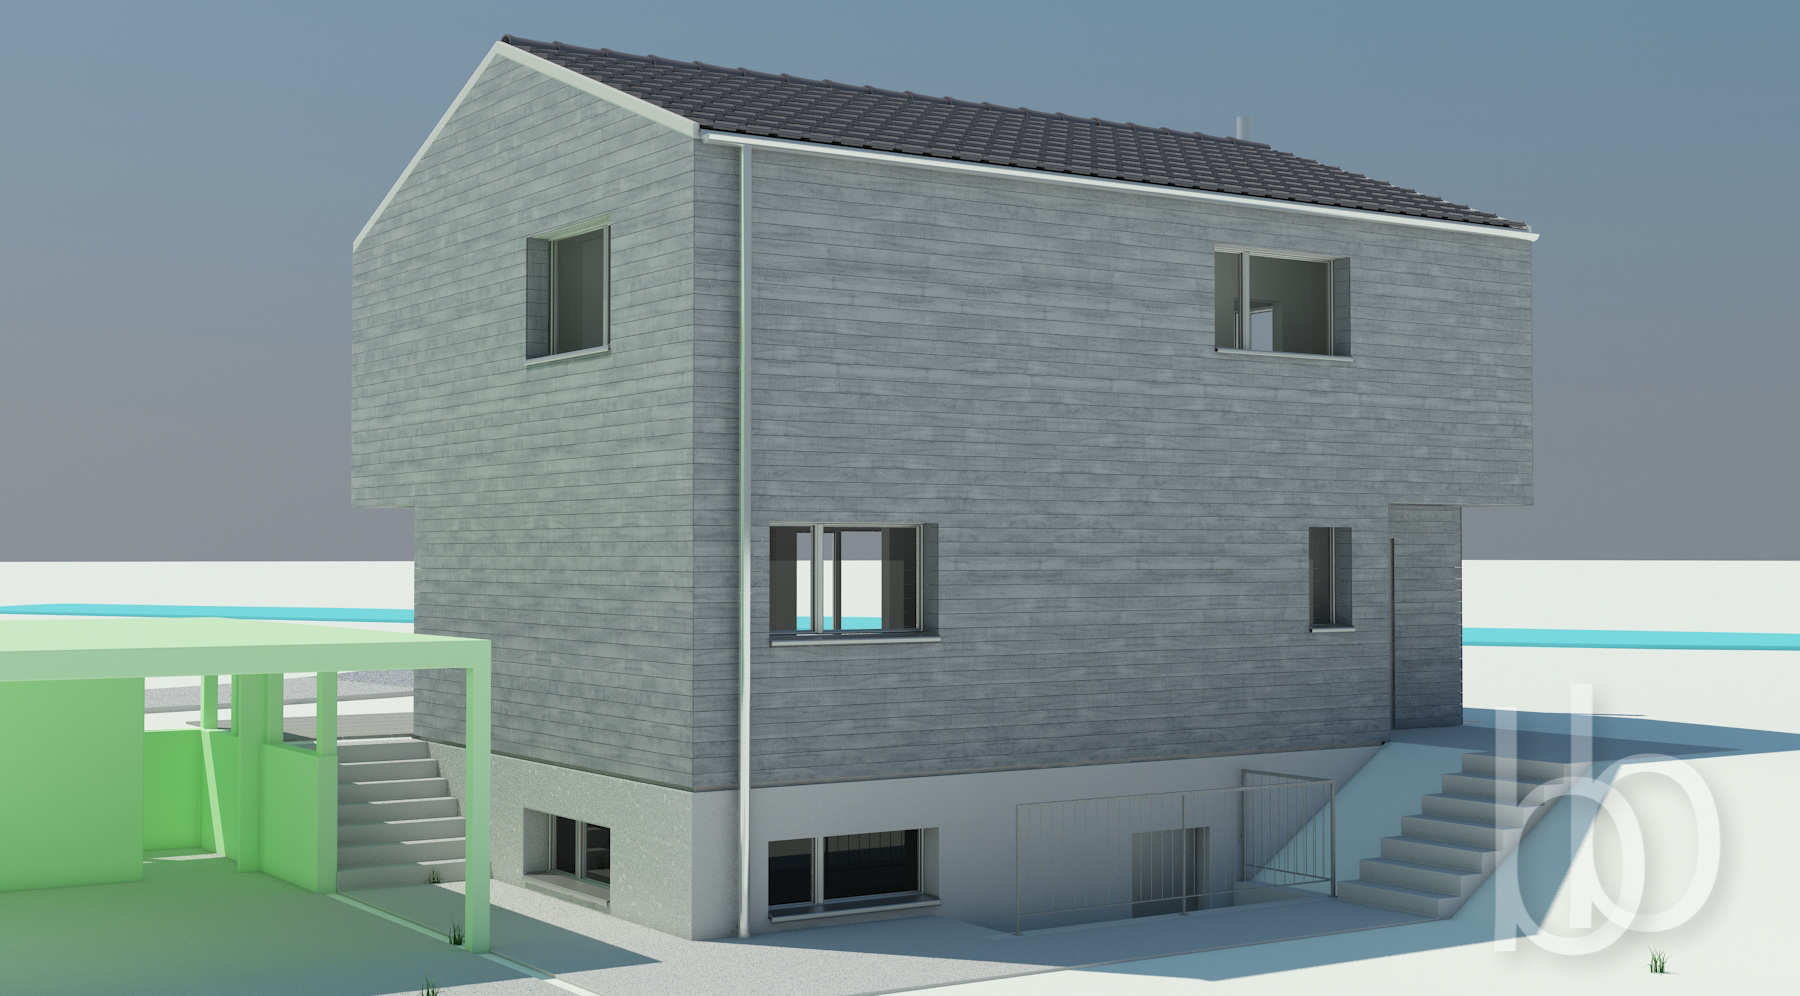
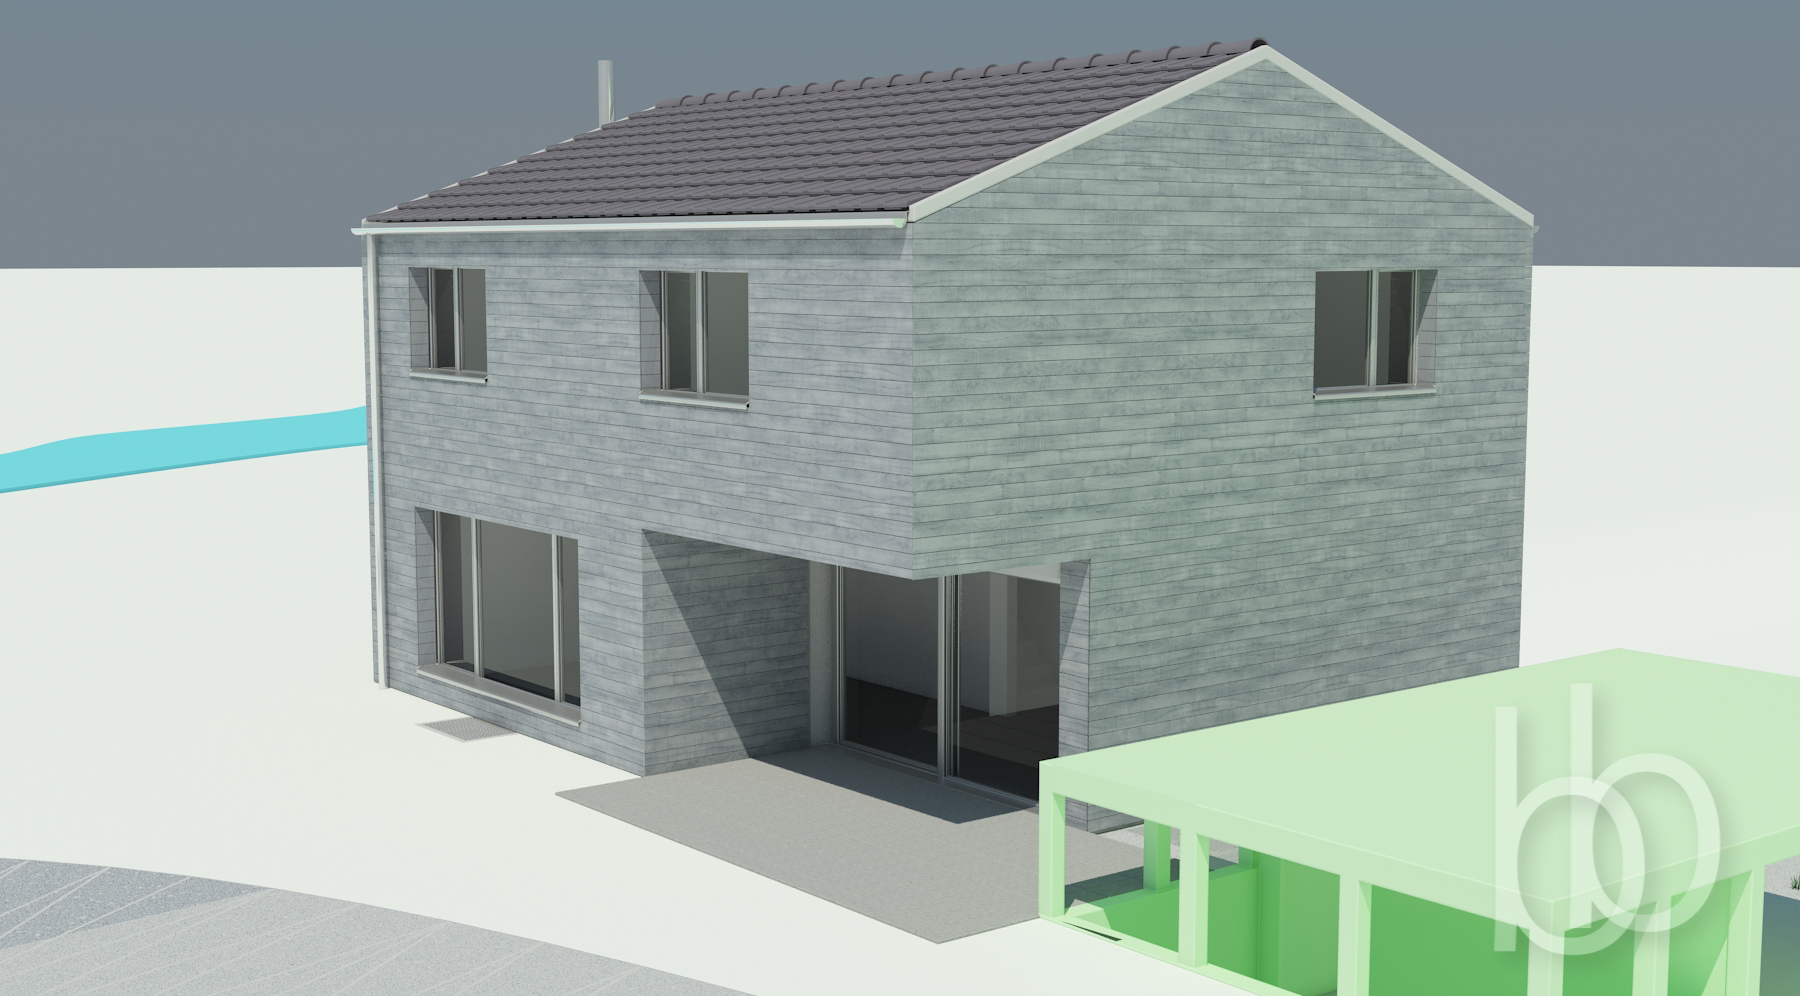
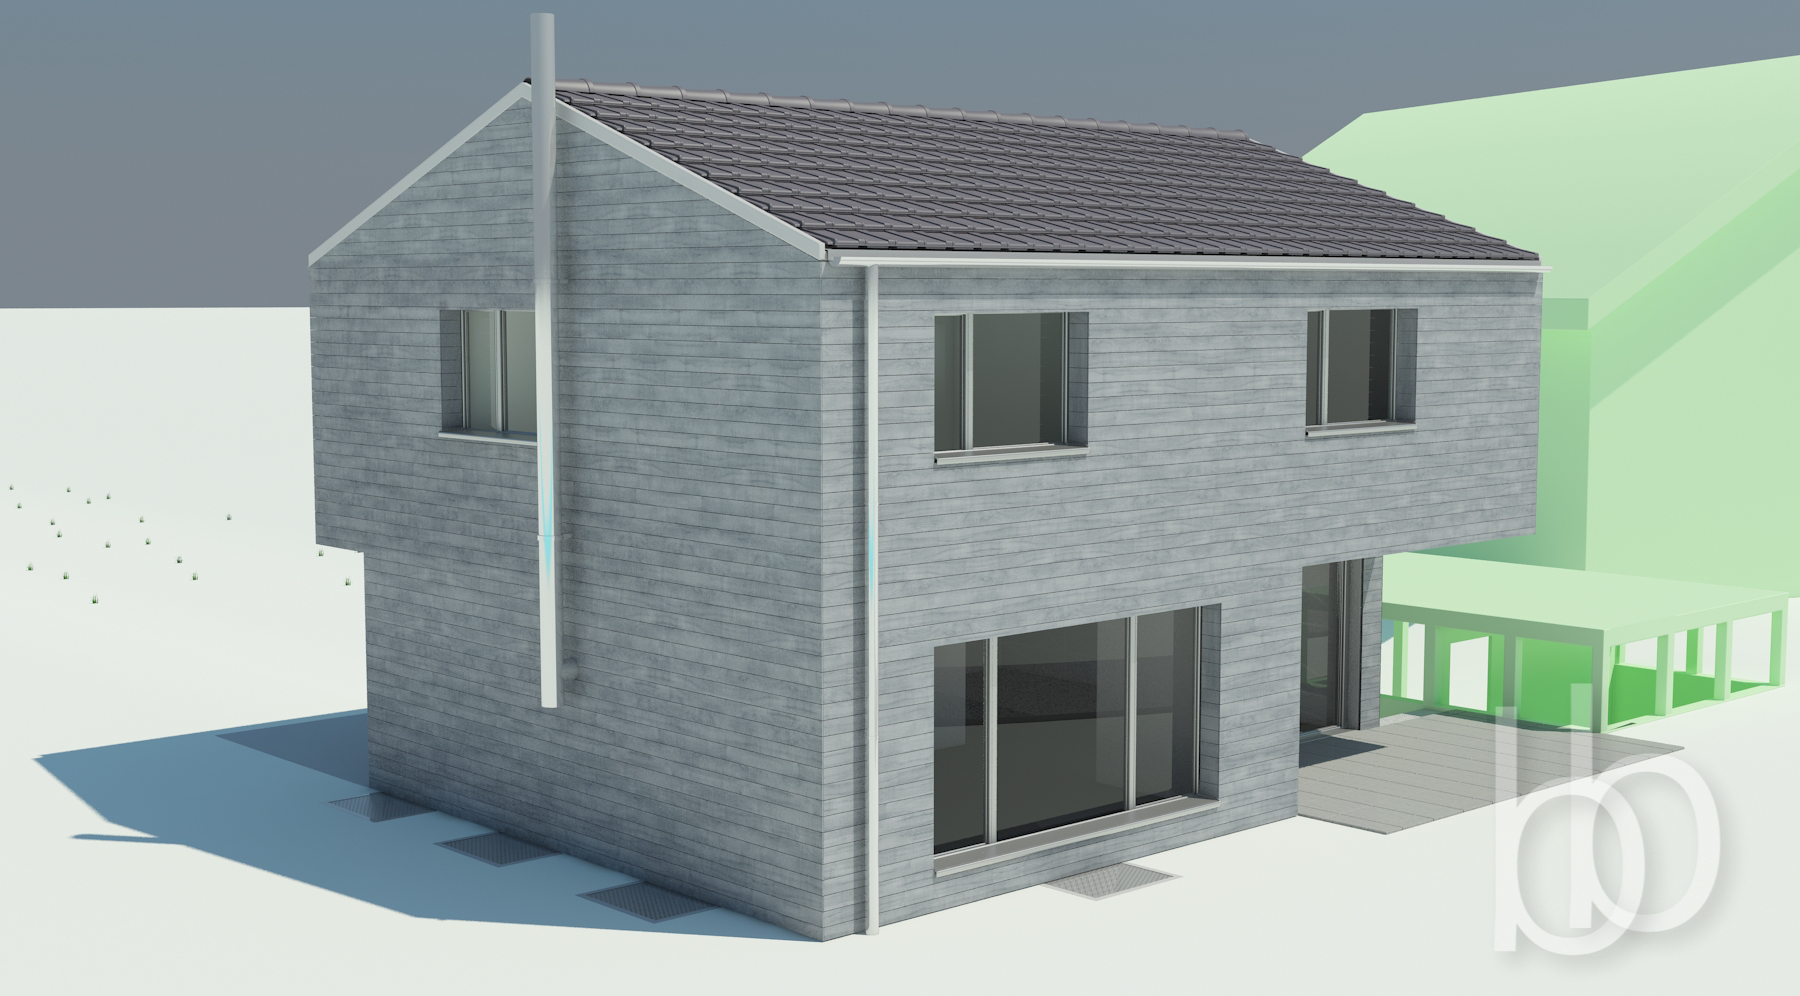
I recently got the great opportunity to implement a detached house by means of professional architectural blueprints.
Due to his, I decided to concentrate on Arch-Viz for a while and training myself for my launch in April. My target ist to recreate it accurately to the plans and as always with realistic lighting and materials.
This building is an ongoing project at k2p Architekten in Biel/Bienne, CH. They gave me this great opportunity and supplied me with all their blueprint data and keep me updated with changes. It is very interesting for me to be in contact with professionals from the architectural field and thus I can learn much.
Many thanks to their confidence!
The detached house will be located in Dotzigen, BE, CH and is yet to be built there.
Here is my progress so far:

bb
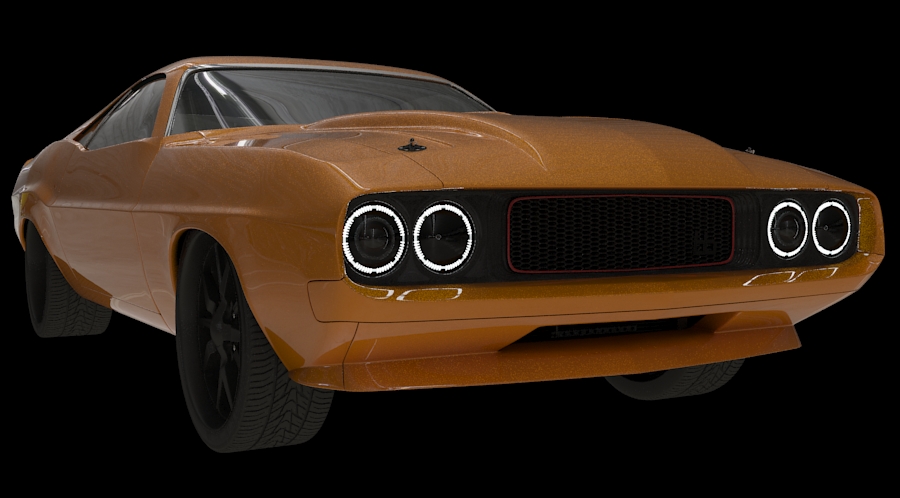
WIP – Dodge Challenger R/T 1970: Backlights, car back revision, interior
I decided to post progress of my Dodge Challenger WIP in a 3ds Max forum for getting feedbacks and tipps. This particular forum is a huge source of information concerning 3ds Max, different render engines, tutorials and stuff with a great community and helpful users. So if you are interested and proficient in german, feel free to use 3dmaxforum.net
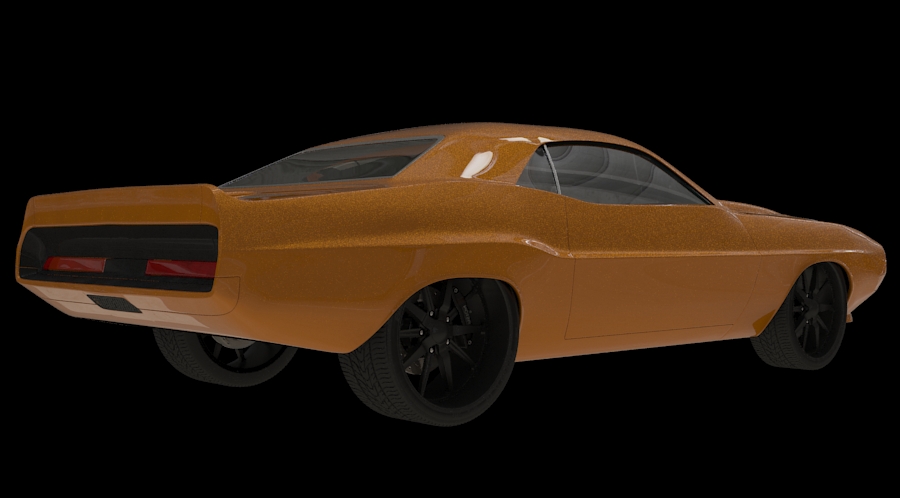
My recent progress consists of the final backlights, the revision of the car’s back and the raw interior.
I modelled a raw, untextured version of the interior consisting of seats, steering wheel and dashboard. This is only for assuring, that one doesn’t see the backsite of the seams when he looks through the windows.
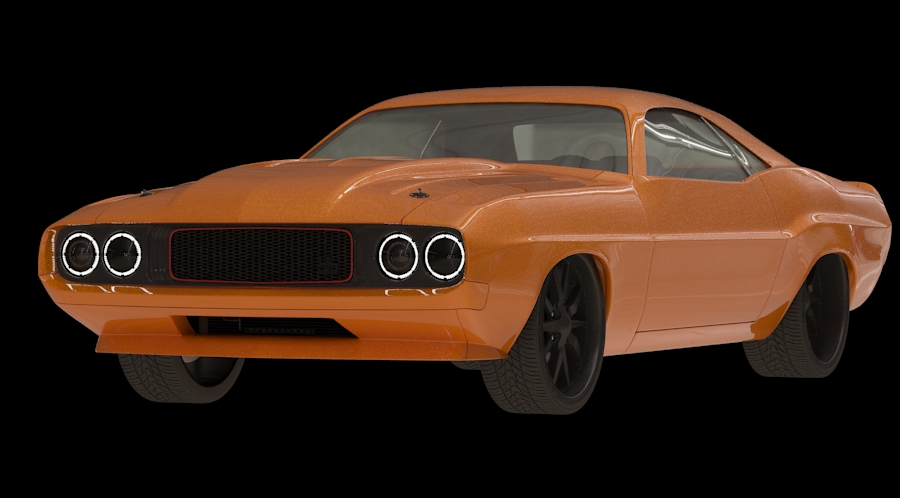
The backlights consist of a red, slightly transparent plastic part, a Lightsource in U-form and a plane with a gradient opacity map which fades the light to the car center.
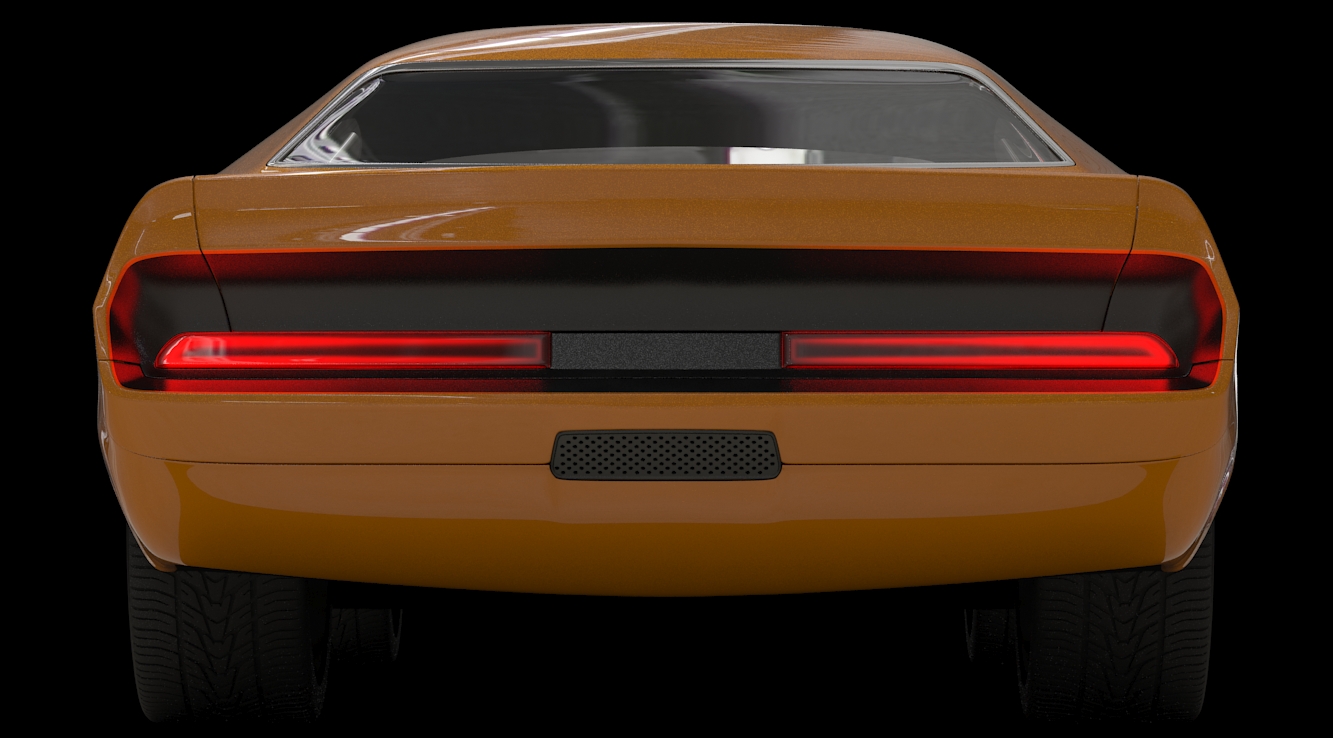
And the whole back part was reshaped because it was too edgy and thin.
bb
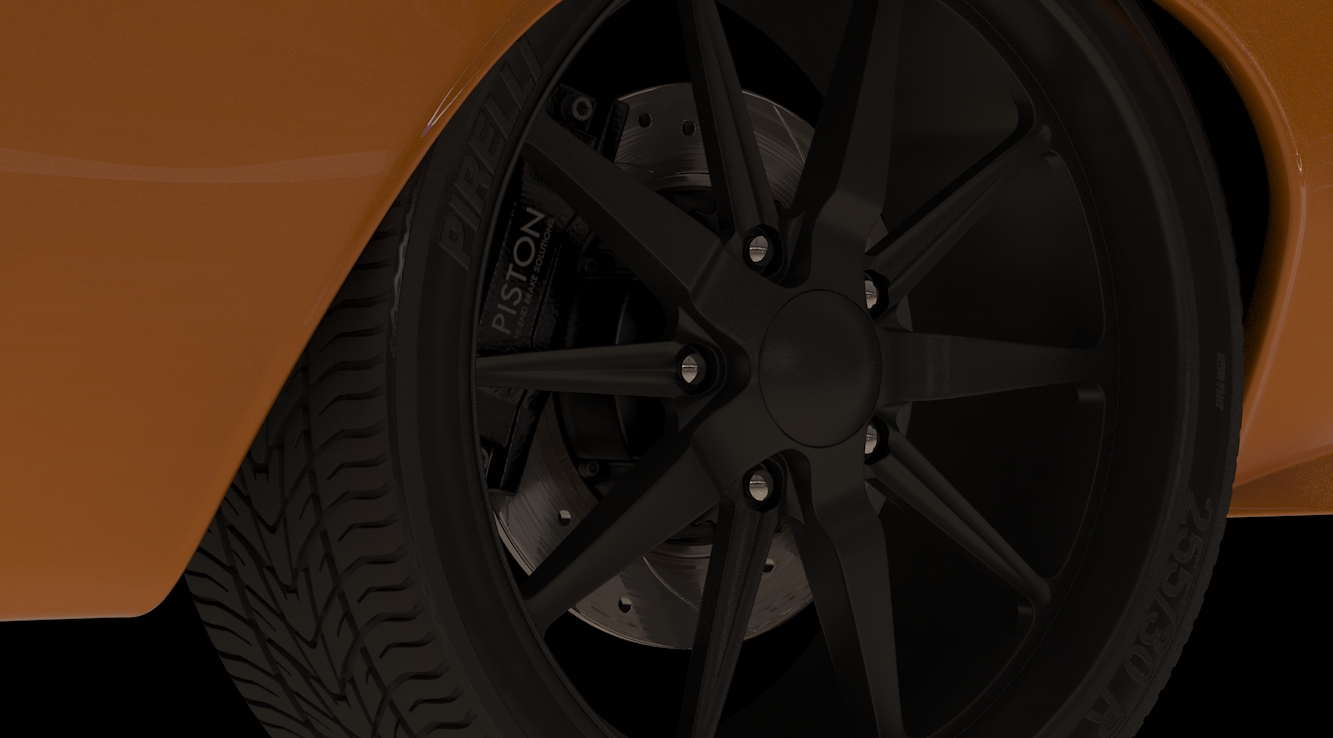
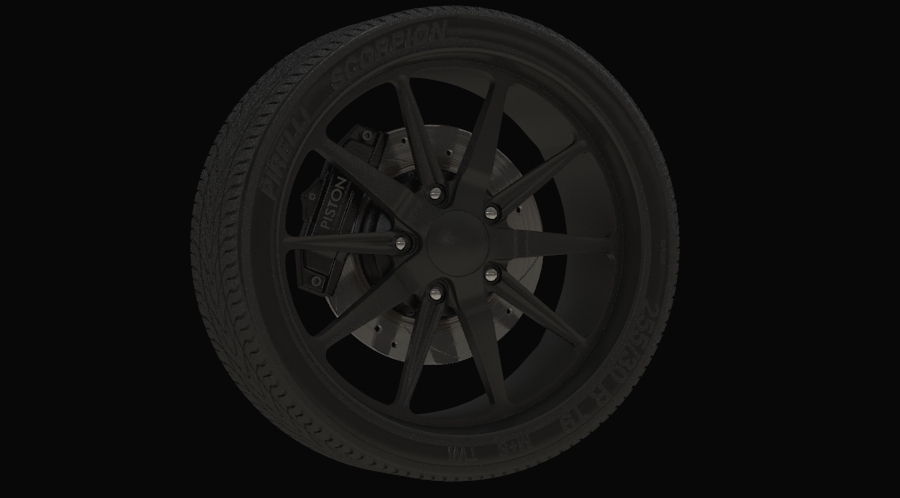
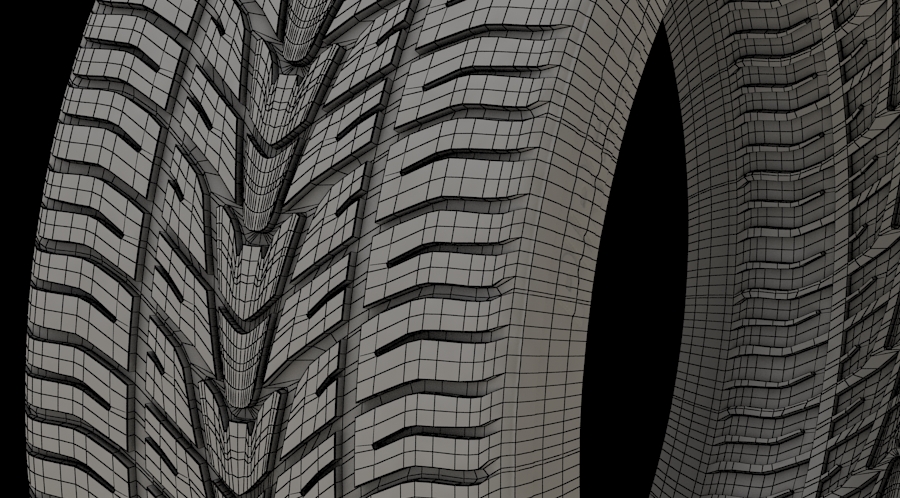
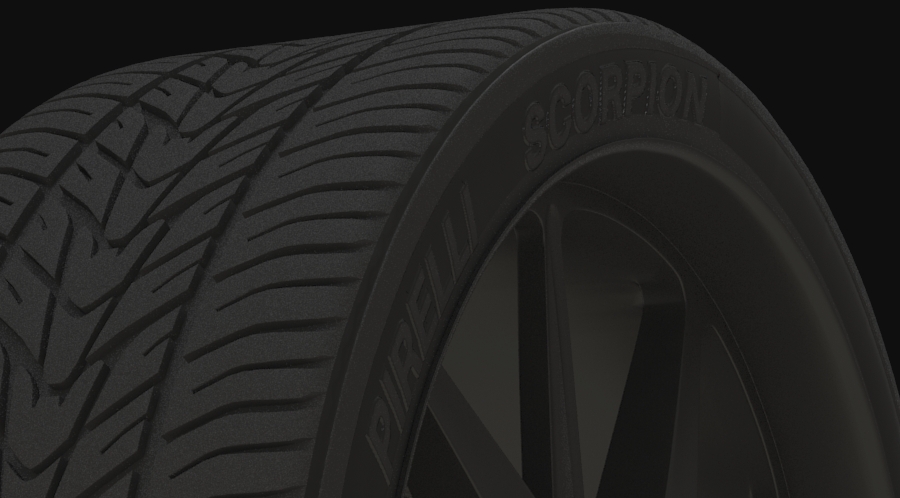
WIP – Dodge Challenger R/T 1970: Tires
Tires are done. All polymodelling except the labelling pirelli & co.
I had a glance at this tutorial for modelling the tires, it’s quite helpful but I just used it as a golden thread since I don’t agree with every step.
Front wheel: 19″ (255/30 R 19)
Back wheel: 22″ (335/25 R 22)